During the mid 70s there were a few AD (Airworthiness Directives) issued by the FAA on all models of the Mooney M18s. One of these ADs required the removal of the fabric from the tail to inspect for wood and glue deteriation. When I removed the fabric, I determined that a complete restoration would be necessary to insure a safe aircraft.
Thus started a multiyear project. The Mite would not fly again until April 17, 1994. This sounds like a long time, but it was not the only thing I was working on during the time period. I did finish my graduate studies first and married Sue. We bought a house, raised a kid, and restored a couple of cars along the way. As is typical of a number of Shumakers I know, we are not happy unless we start five or six new projects before finishing anything. This lack of constraint at starting new projects, combined with a completion time estimation only a stark-raving optimist would come up with, leads to the infestation of ongoing projects. Ordinarily, this wouldn't be a problem except they are typically scattered about the residence of some of these Shumakers. Amazingly every now and then a project gets finished (usually on a geological time scale!)
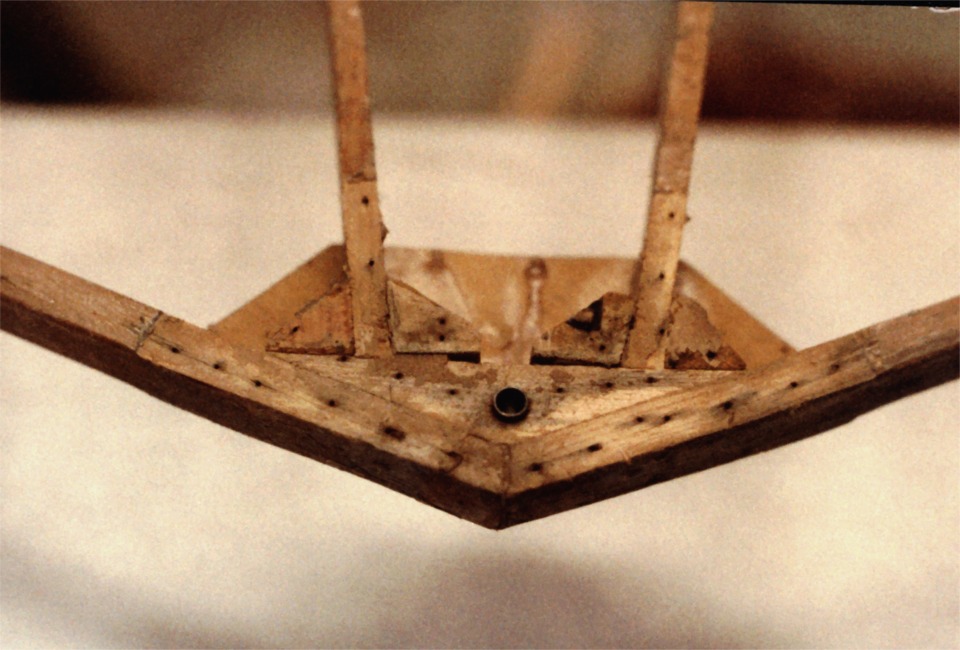
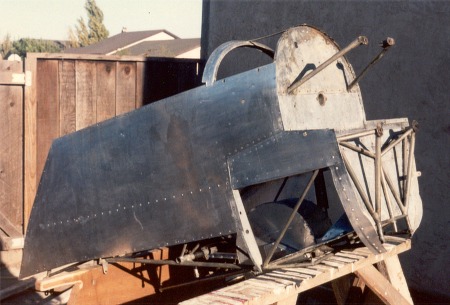
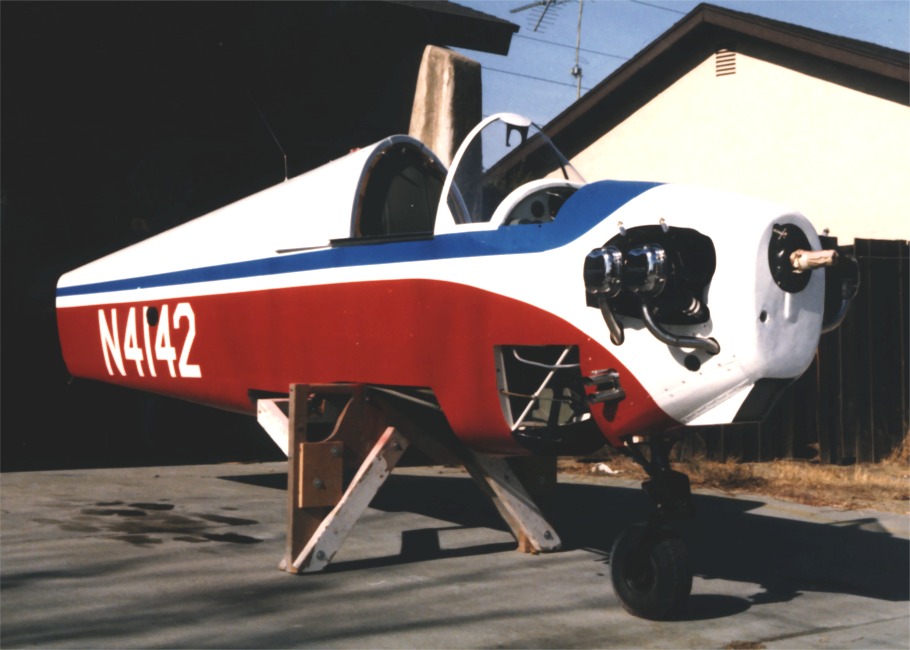
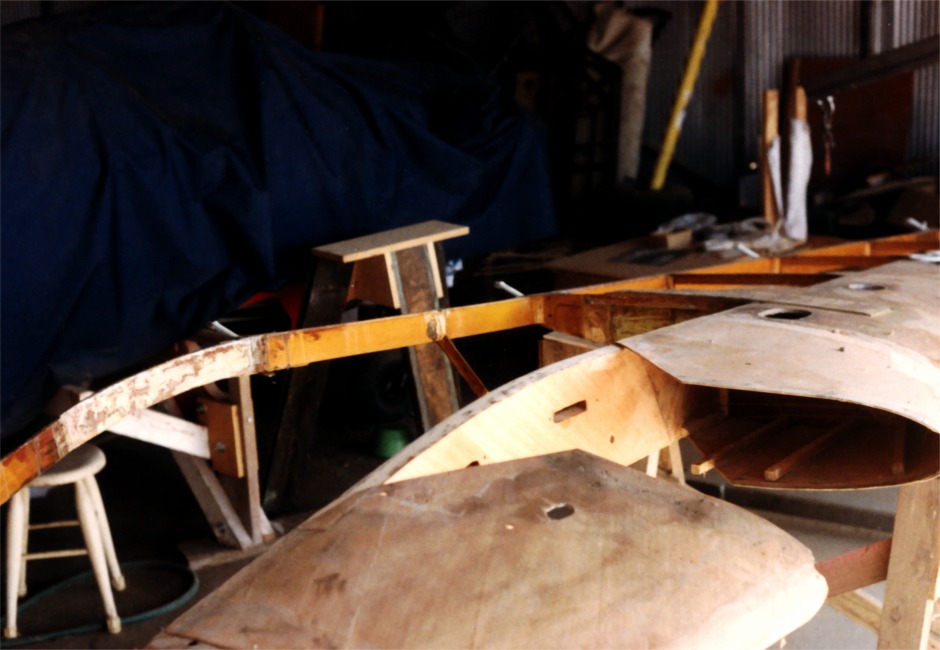
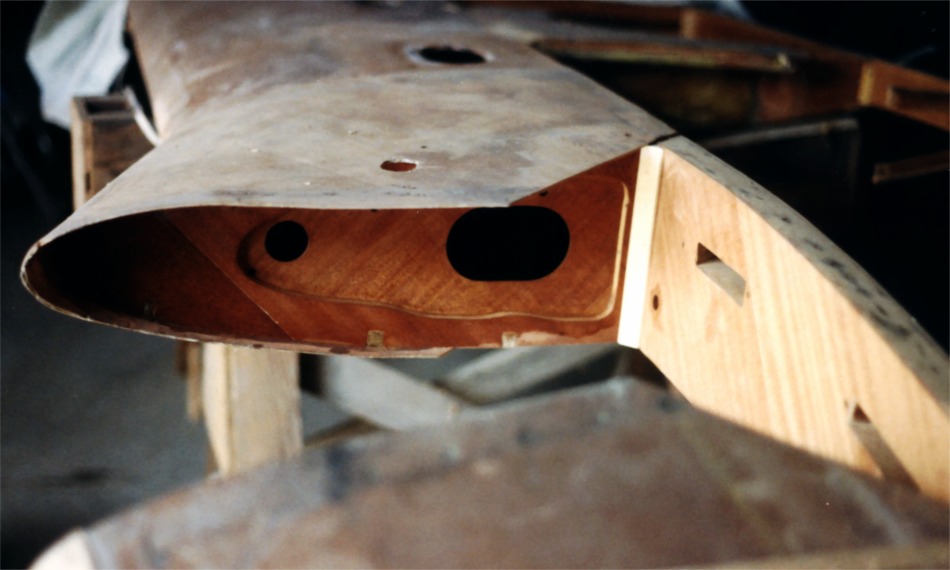
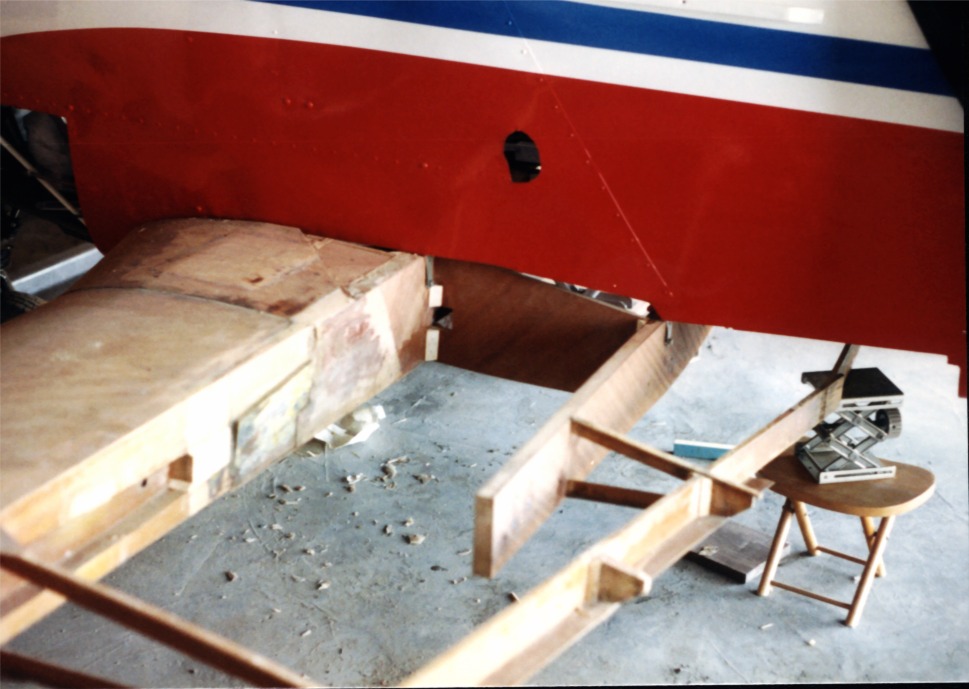
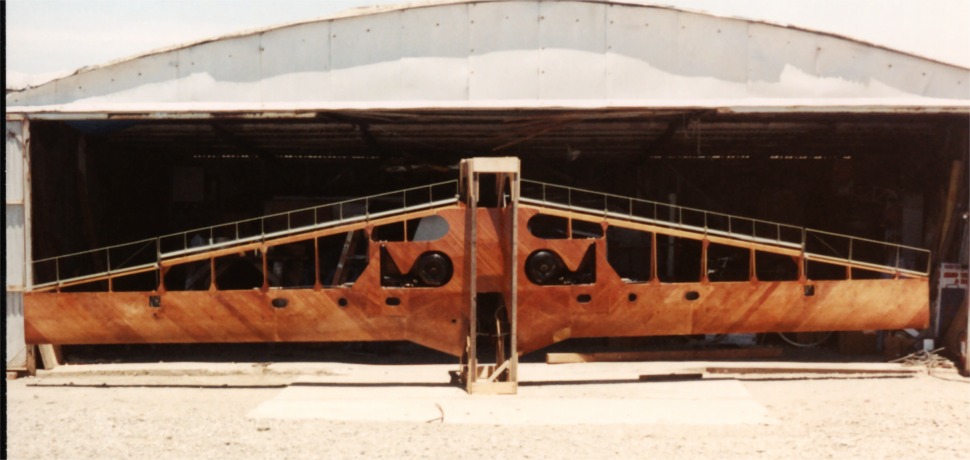
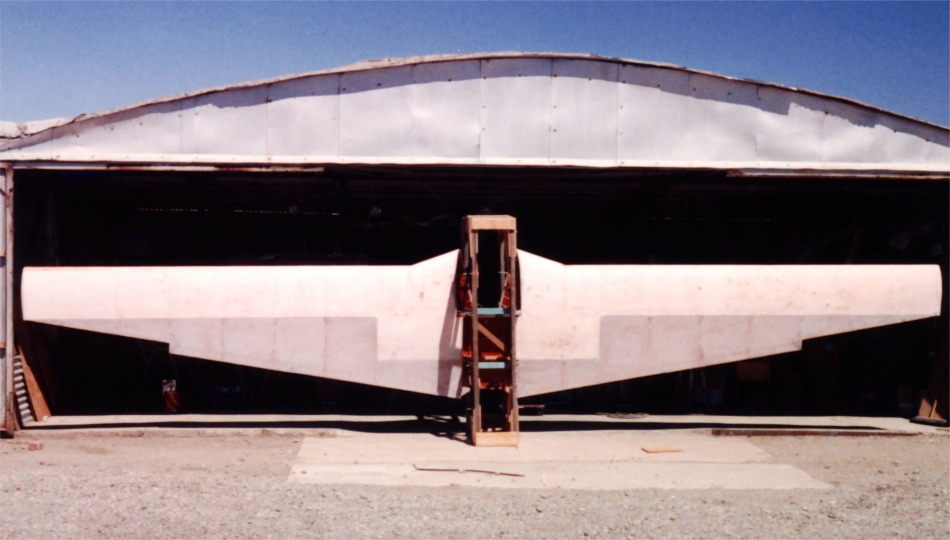
If you take a Mooney Mite apart by removing the plywood tail cone first, it make for an odd looking contraption. Makes one want to stand in the cockpit and taxi across the field Roman chariot style.
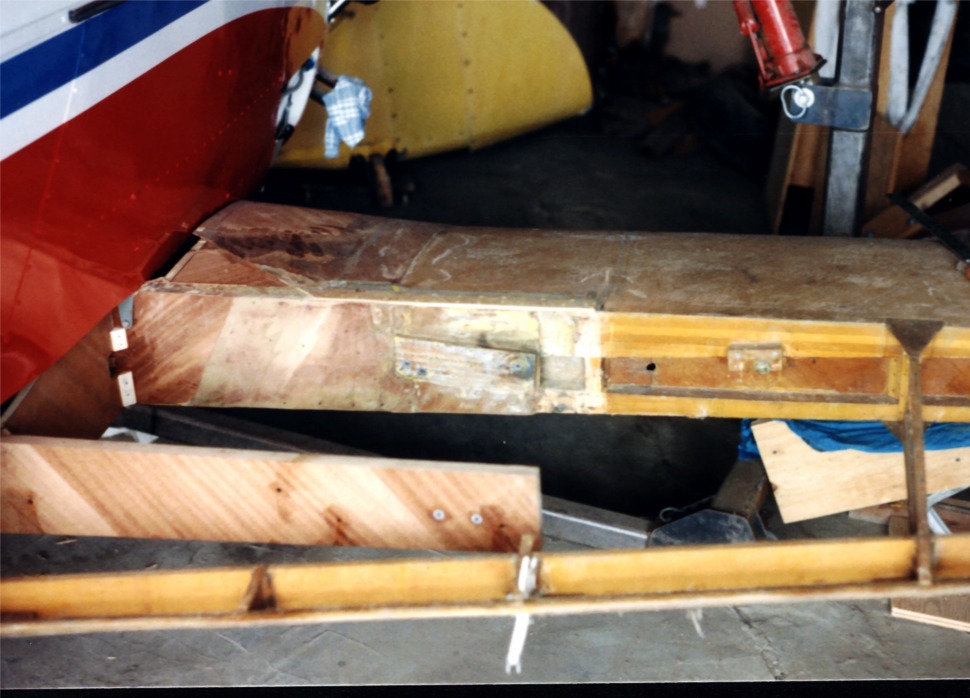
I was suppressed to see how bad the conditions of the wood was. There was a plywood repair on the bottom center section. There were a few spots of dry rot. This repair was apparently the results of a gears up landing. I have never seen a Mooney Mite that has not been belled in. You call always tell by looking at the nose gear, there will be a flat spot on the steel disk between the rubber donuts of the nose gear.
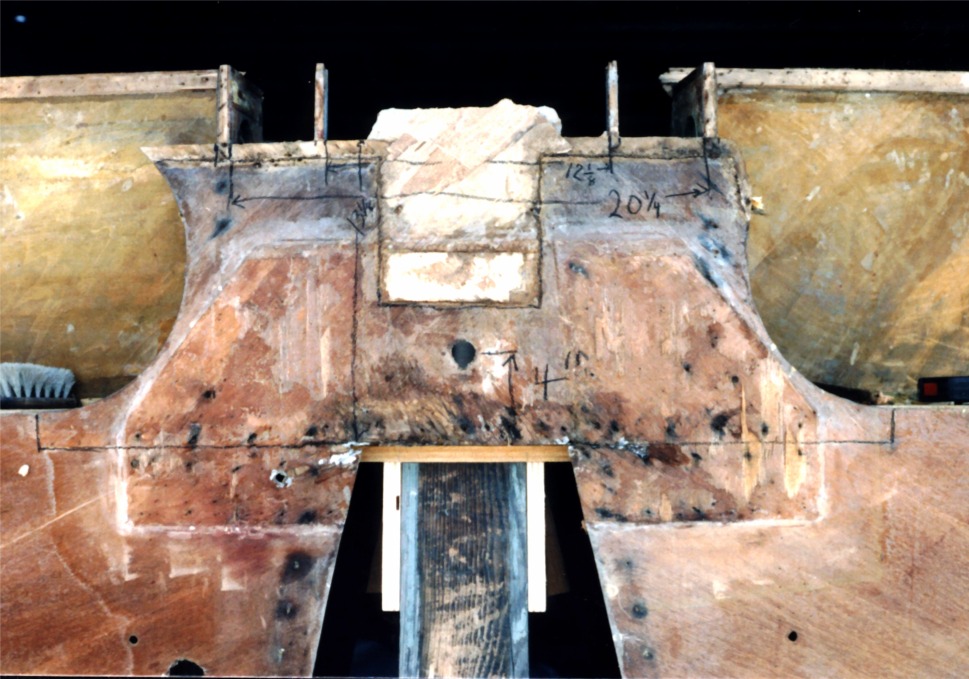
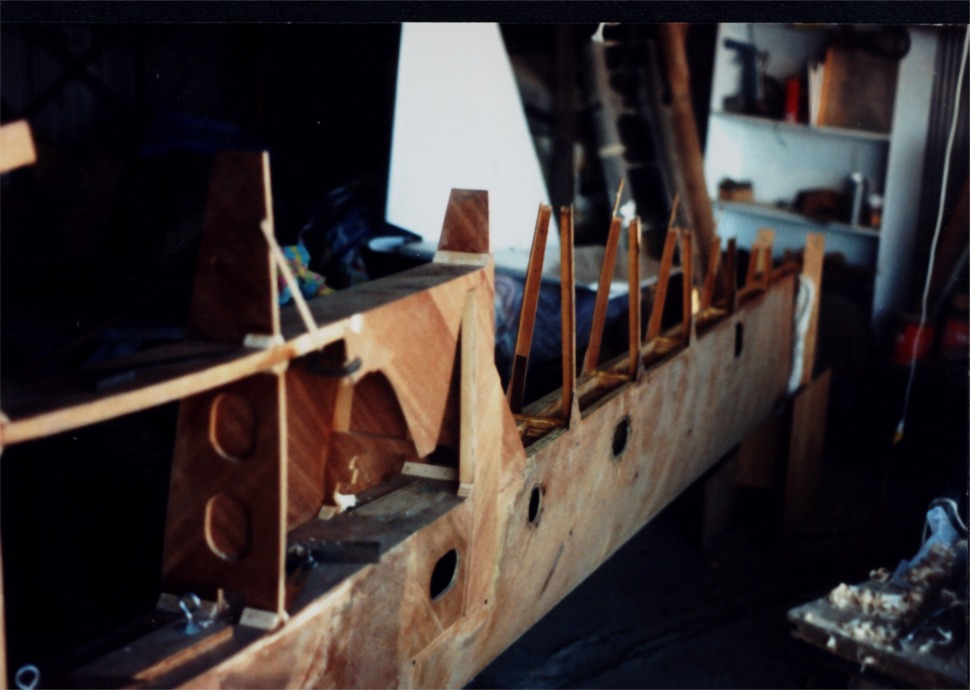
When I got to the point of rebuilding the aux spar, I found
that about 3/16" had been ground off this spar near center.
Who ever did the repair didn't even bother building it back
to it's original thickness.
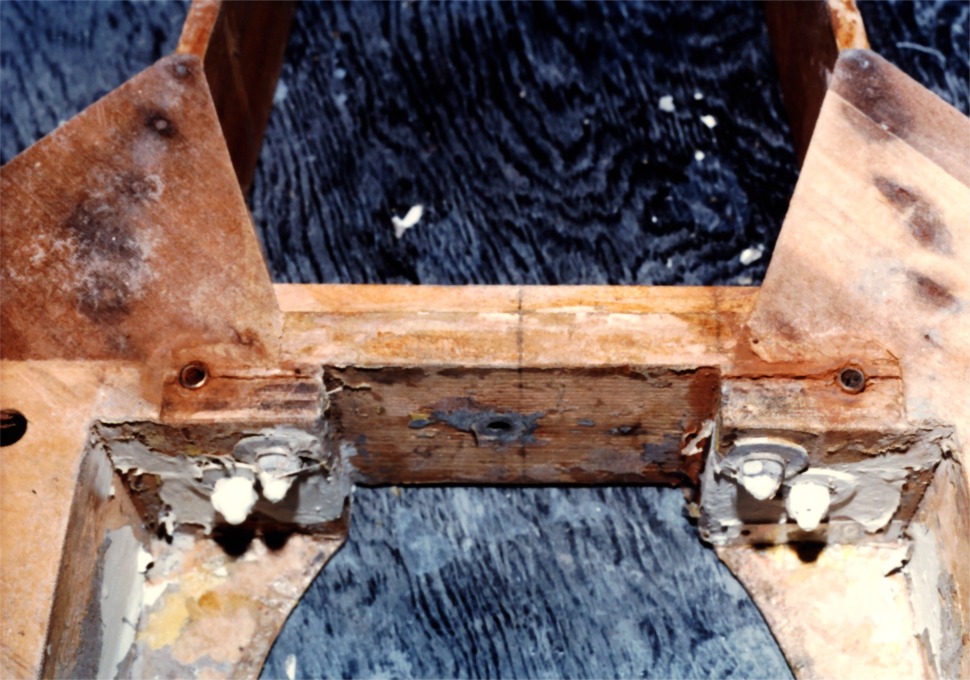
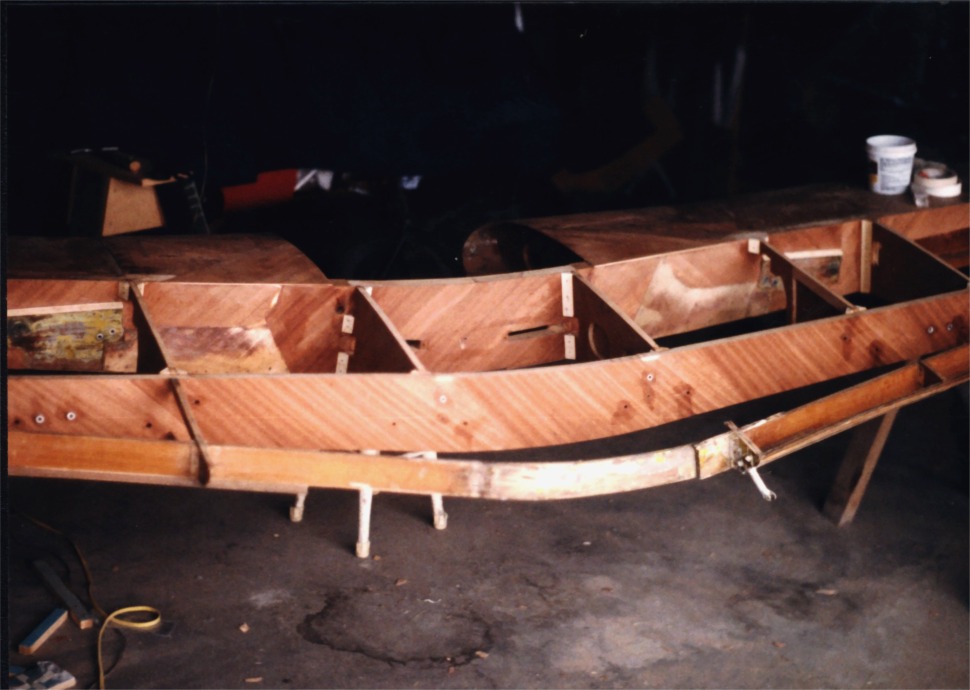
In the elevator center section the attachment blocks had some large cracks around the vertical bushing. The plywood had separated at the bottom of the spruce core of the vertical fin spar. There was evidence of very poor workmanship at rear of the horizontal stabilizer. Glue blocks at this point were fit very poorly. On one of the glue blocks there was some kind of lumber brand mark.
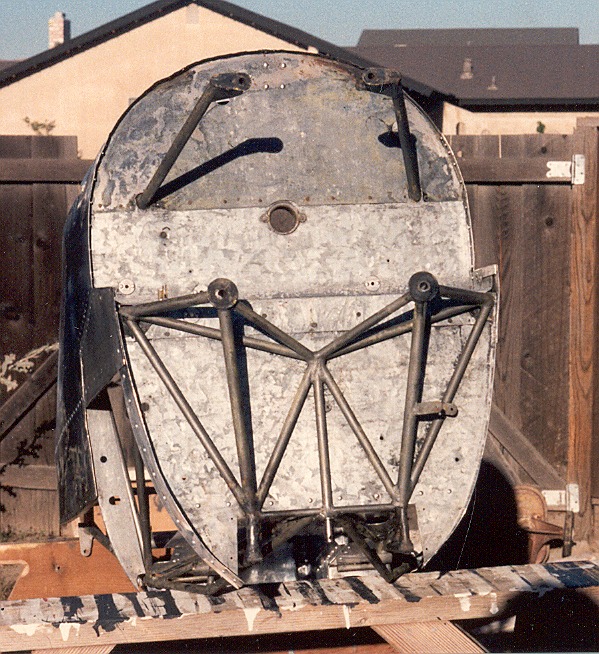
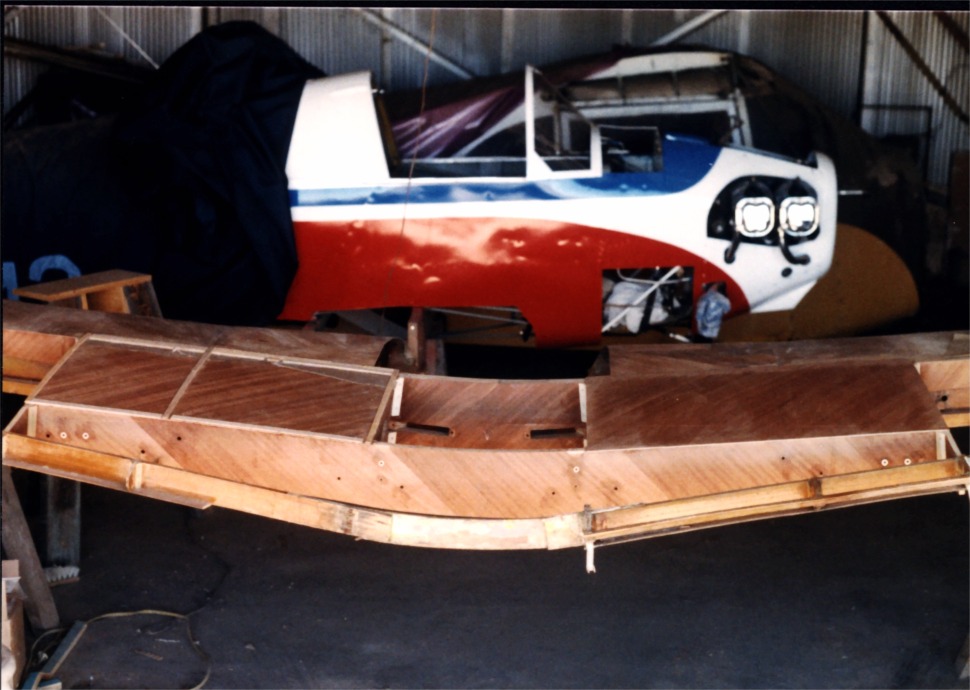
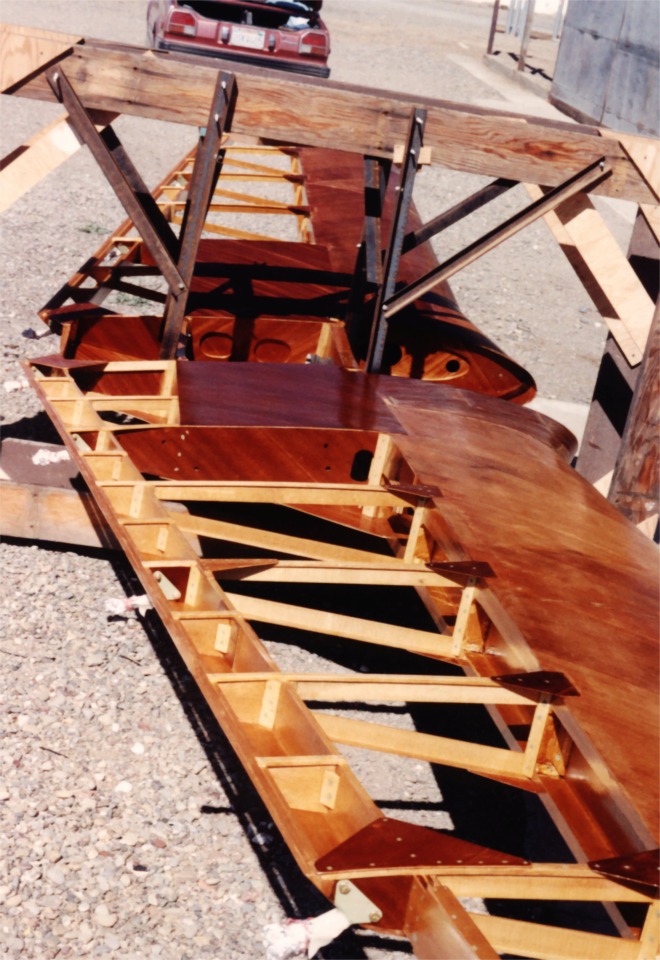
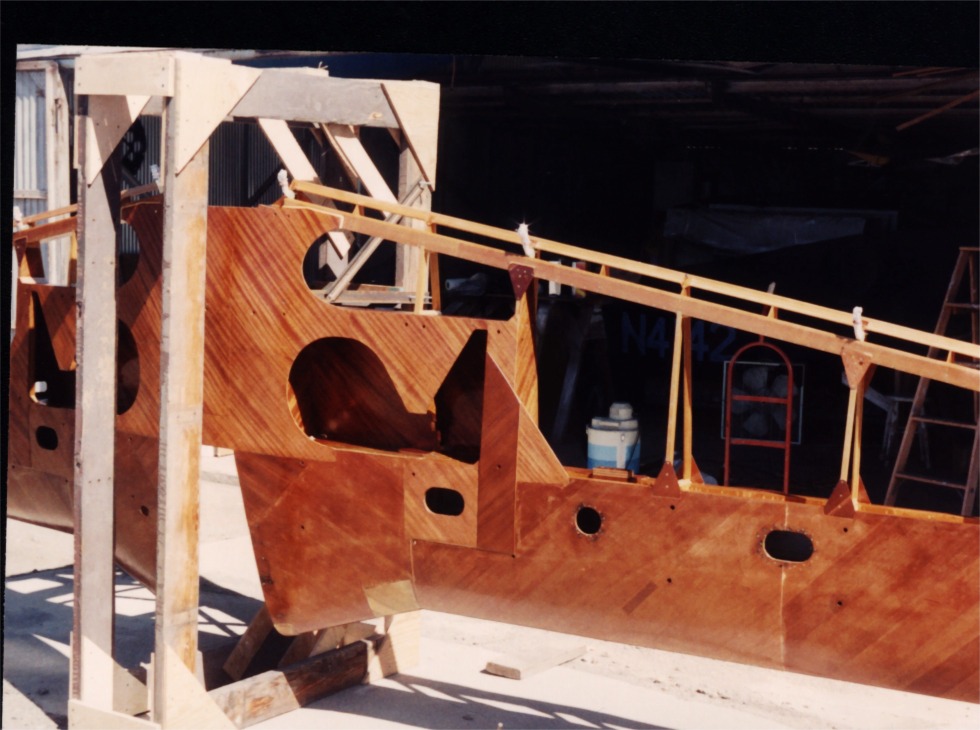
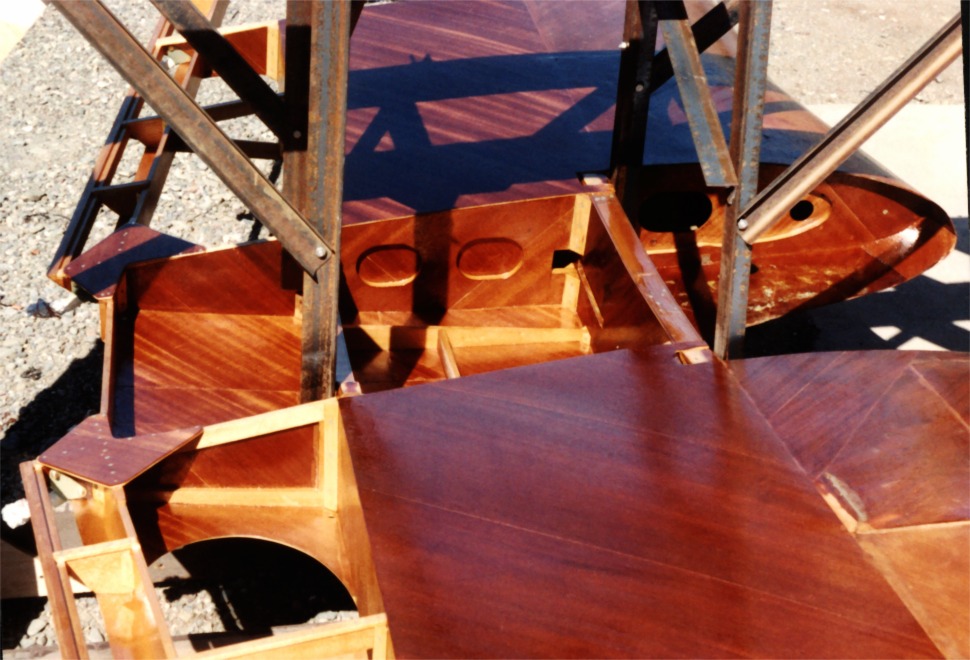
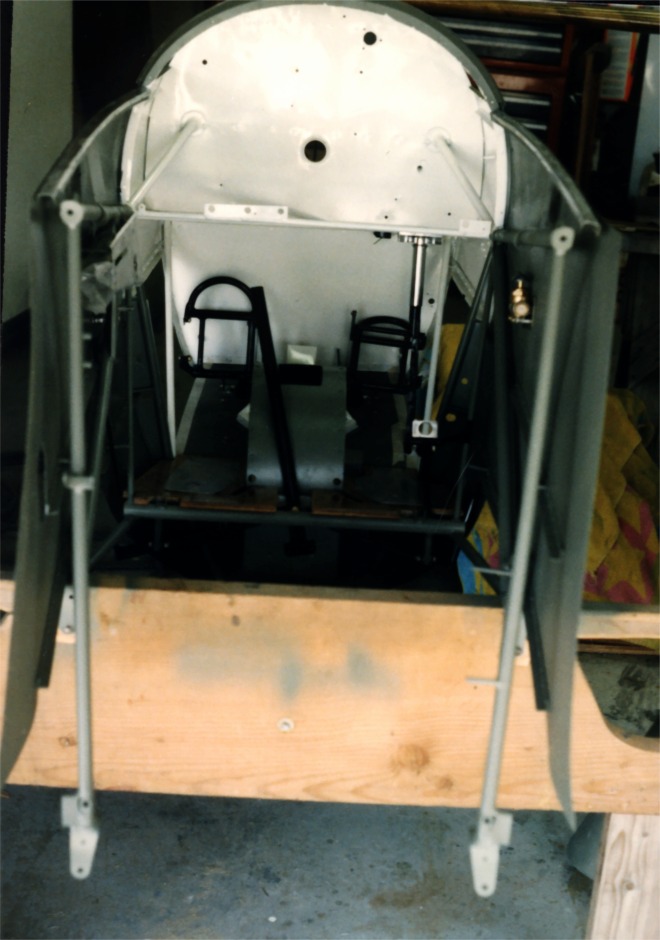
Here are two photos of the aft plywood part of the fuselage and two of the front cabin section. One is with my son Erik. These photos were taken 1985.

All of the cowl parts were rebuilt, except for the nose bowl.

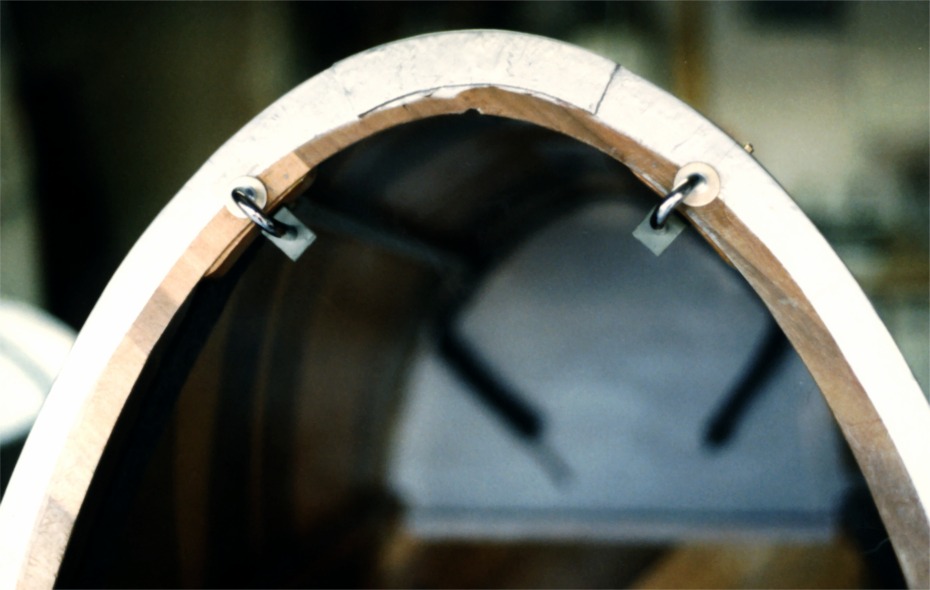
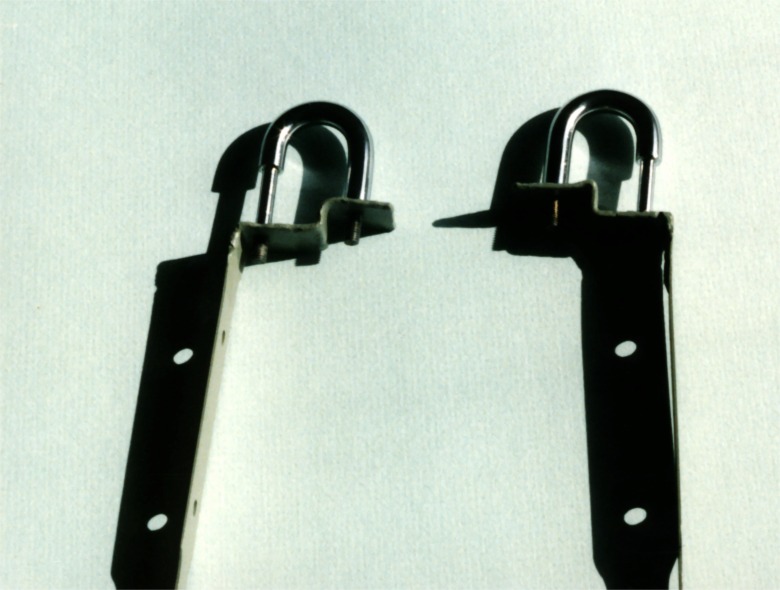
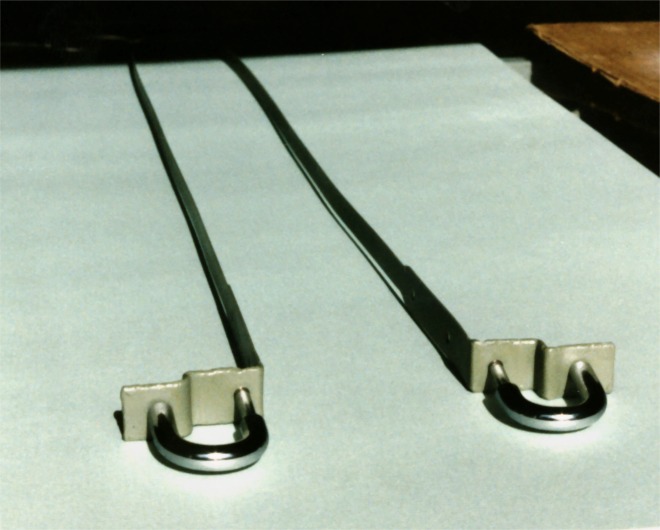
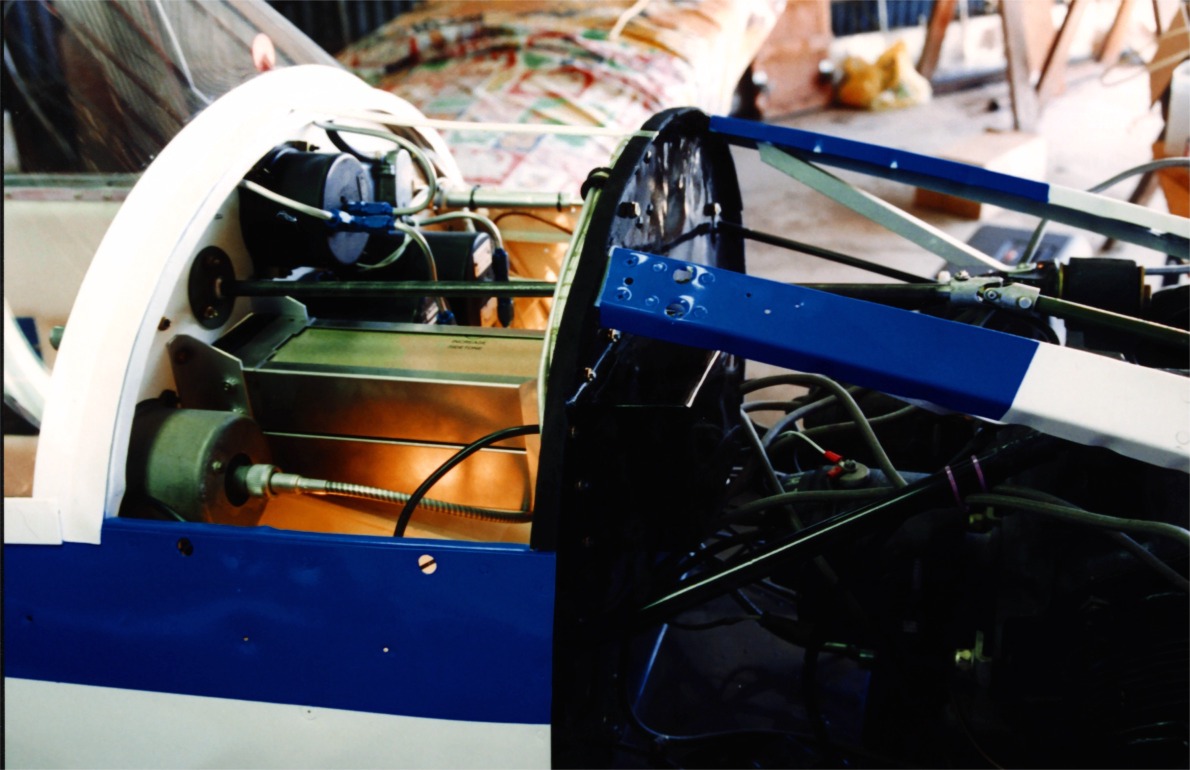
I installed shoulder harness brackets in my Mite. This bracket consist of a loop made from 1/4" round 4130 steel and a strap made from 0.035" 4130 steel. The straps attaches to the the fuel tank attachment bolts. There is one additional bolt added to each side. This design was not tested with the 500 lbs load recommended the FAA. I don't think it would pass this test, however it is better than nothing. I did not get a field approval for this modification. My IA signed the 337 and sent it in to the FAA, and it did not bounce back. Anyone is welcome to copy my 337 .
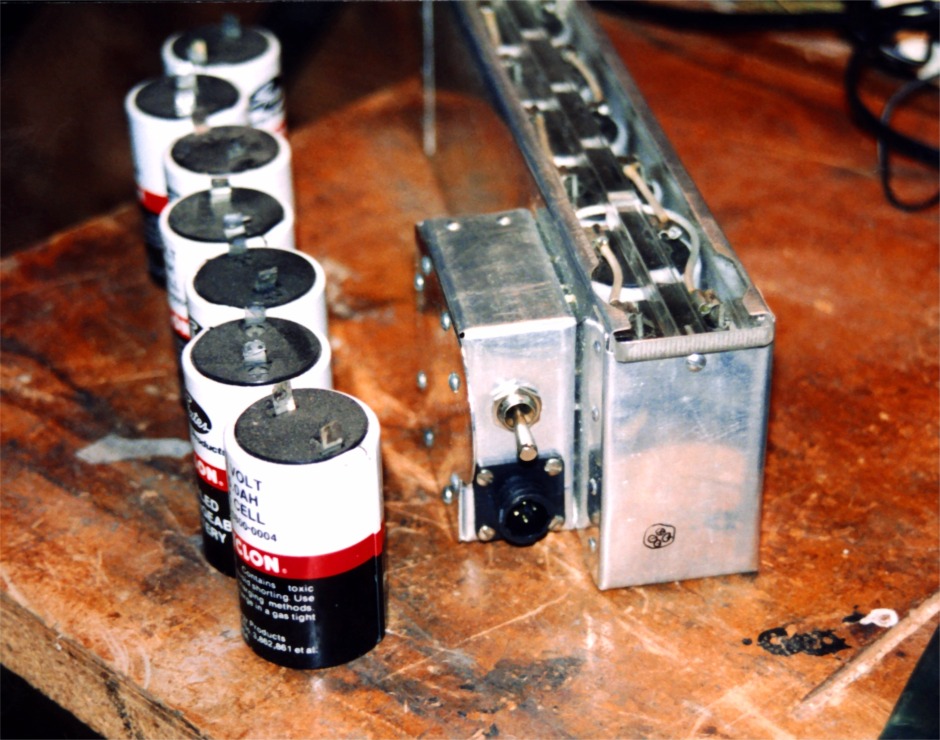
To supply power to run a radio and transponder I made a 14 volt battery pack. This was made from seven 5 amp-hour Gates cells and mounted behind the seat. There is a master circuit switch mounted on the box. A 14 volt battery is preferred over a 12 volt because a larger fraction of the power can be extracted from the battery before the voltage drops too low to run the equipment.
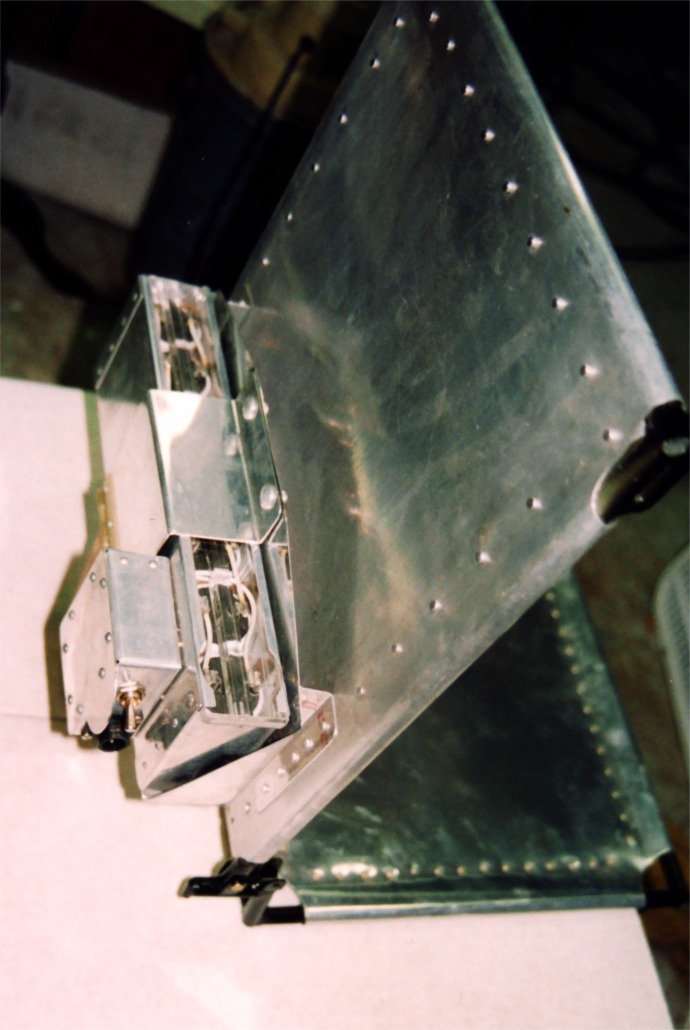
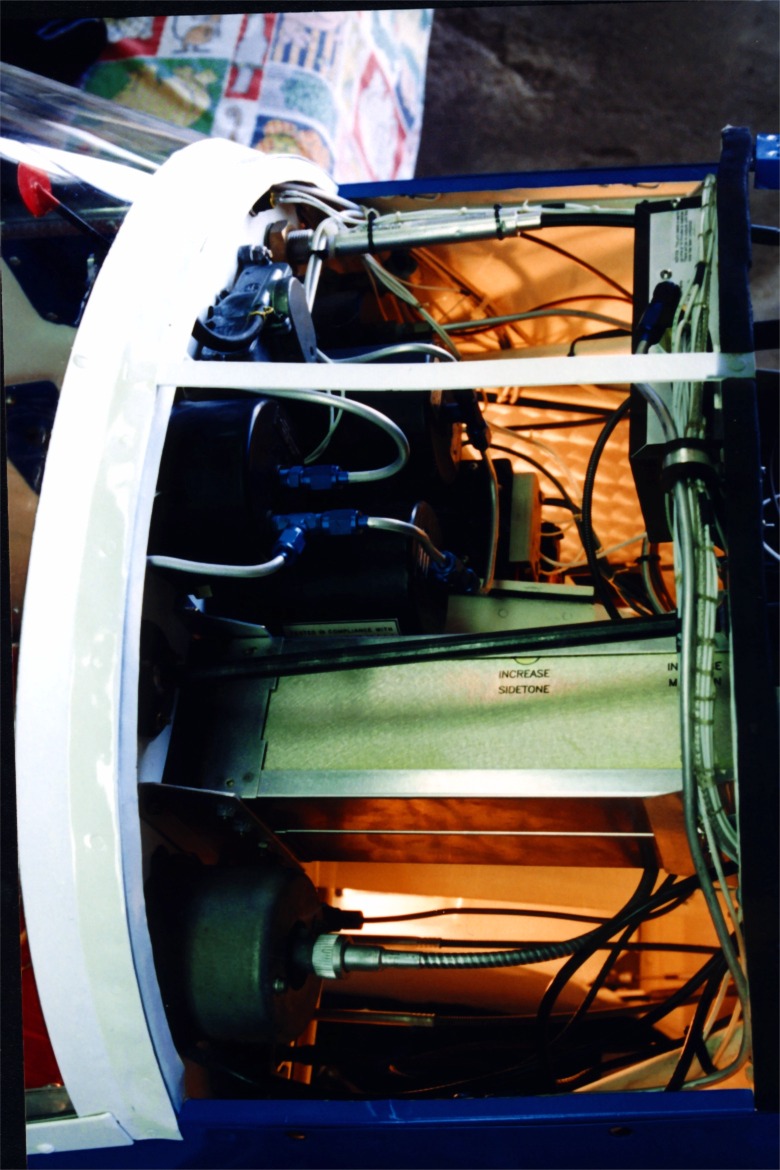
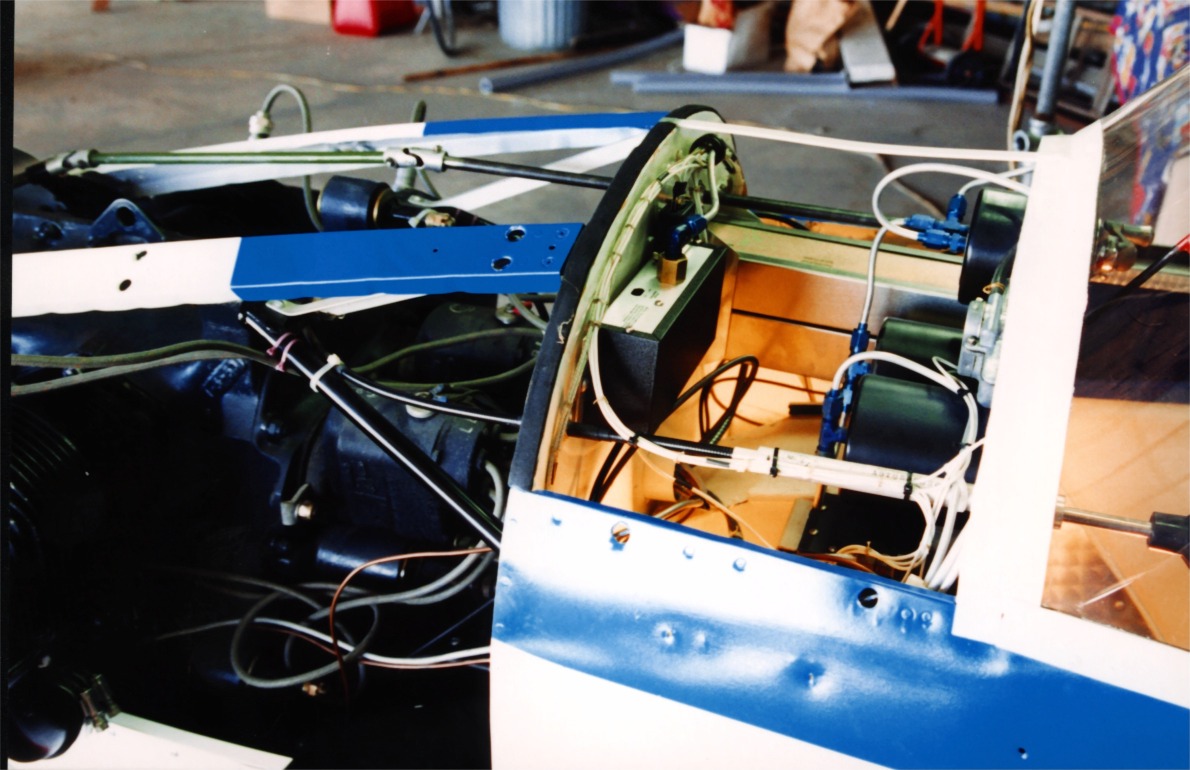
Here are some photos of the cockpit. I modified the firewall to allow the use a Terra radio and transponder. A box was constructed in the firewall to provide room for the radio.

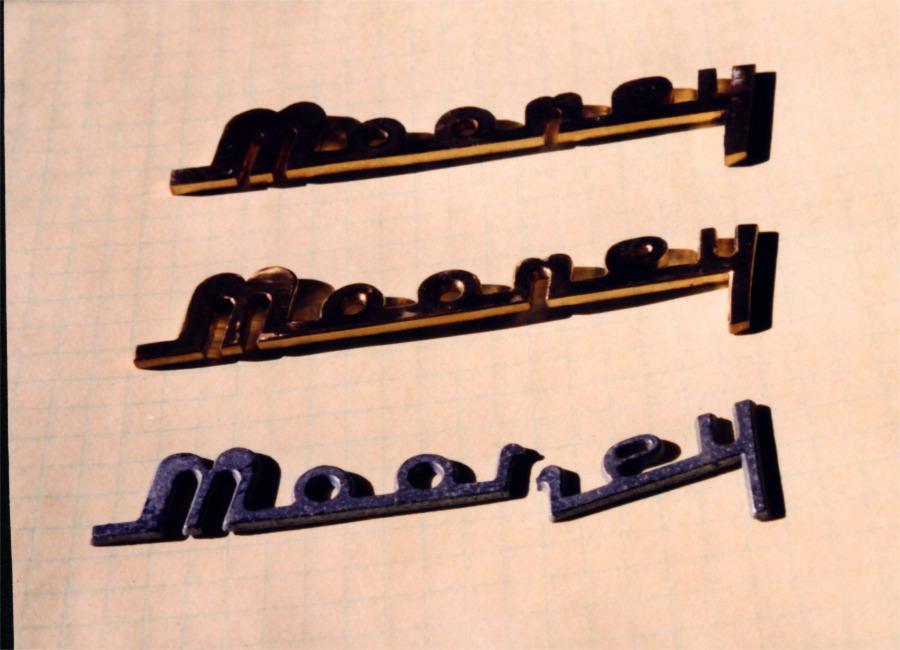
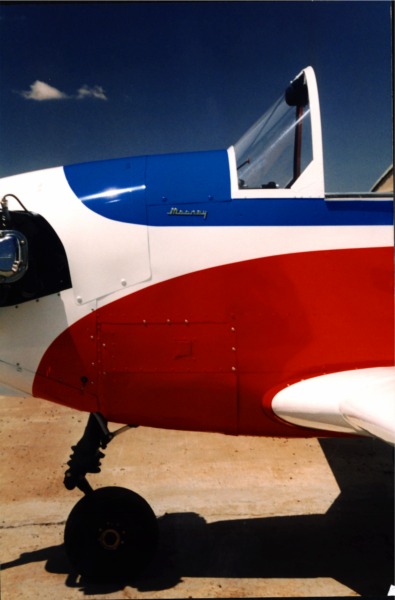
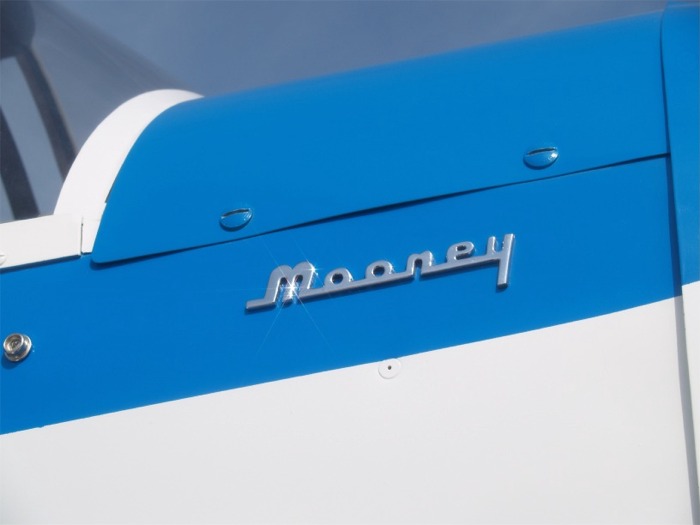
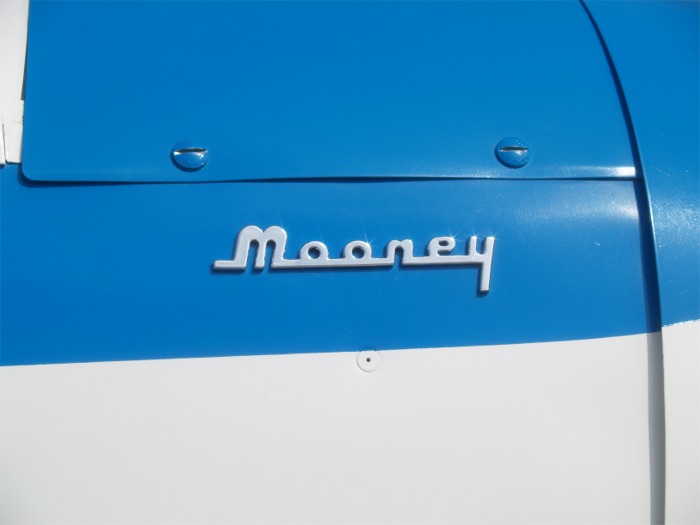
The next time you see a Mooney Mite see if it has the logo on the side. Most likely it will be missing. These logos tend to break at the top of the "n". When I started restoring my Mite, I contacted Fred Schmidt to see if he had a pair to sell. He only had one pair and he was saving them for his Mite. He did have a broken one he gave me to copy. The ones I made were cut from brass about 3/32" thick. Threaded brass rods were soldered to the back. I intended to have these chrome plated, but I could not stomach the high cost of plated. In 2005 I found a place to get then plated for a resonable price.
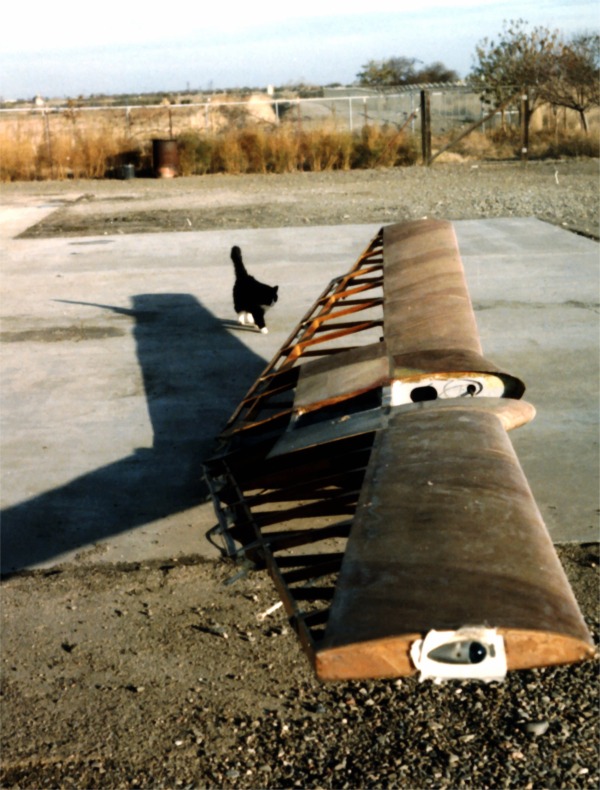
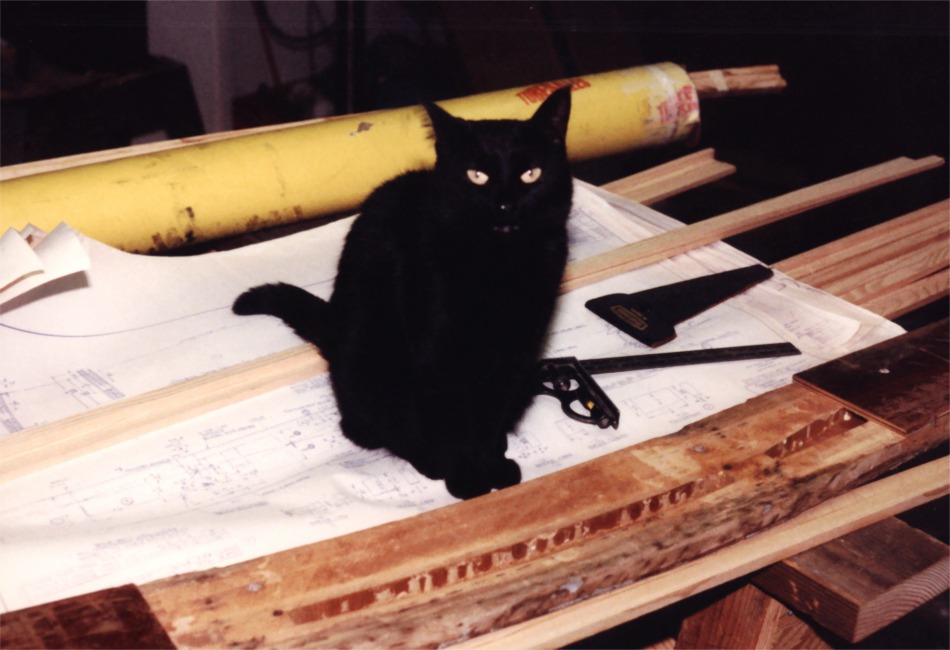
Here's my old helped Lucky helping me with the inspection of the old aux spar. This photo was taken in 1987.
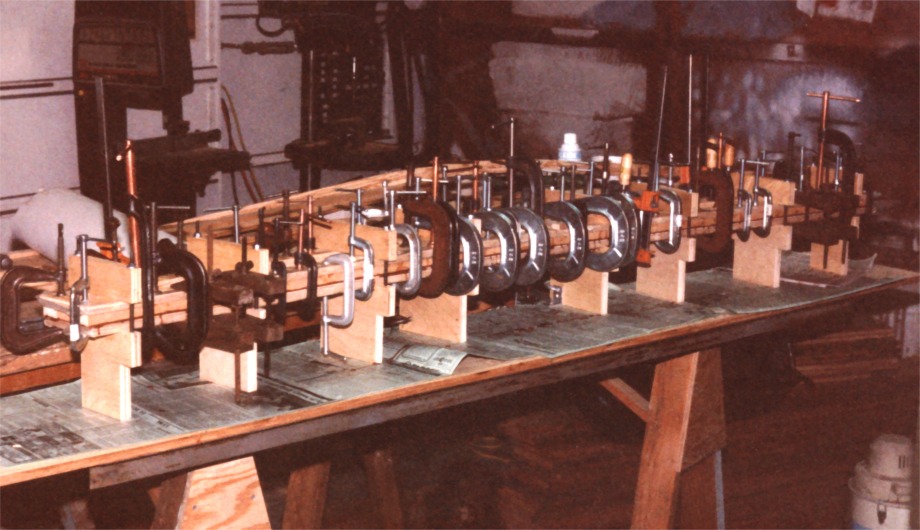
A new aux spar was constructed. The core is made from laminated spruce, and the faces are 1/8" plywood.
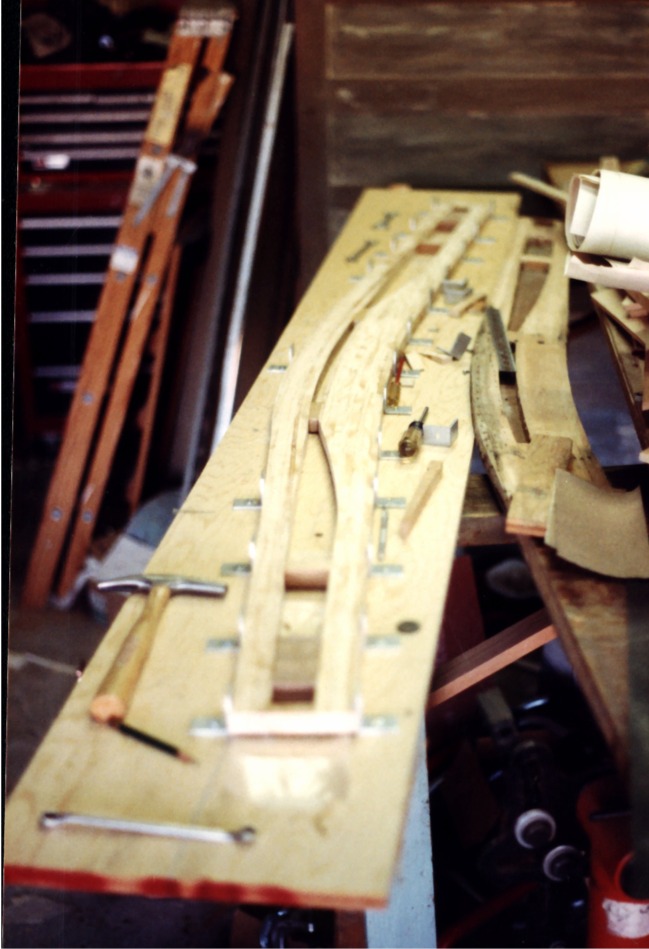
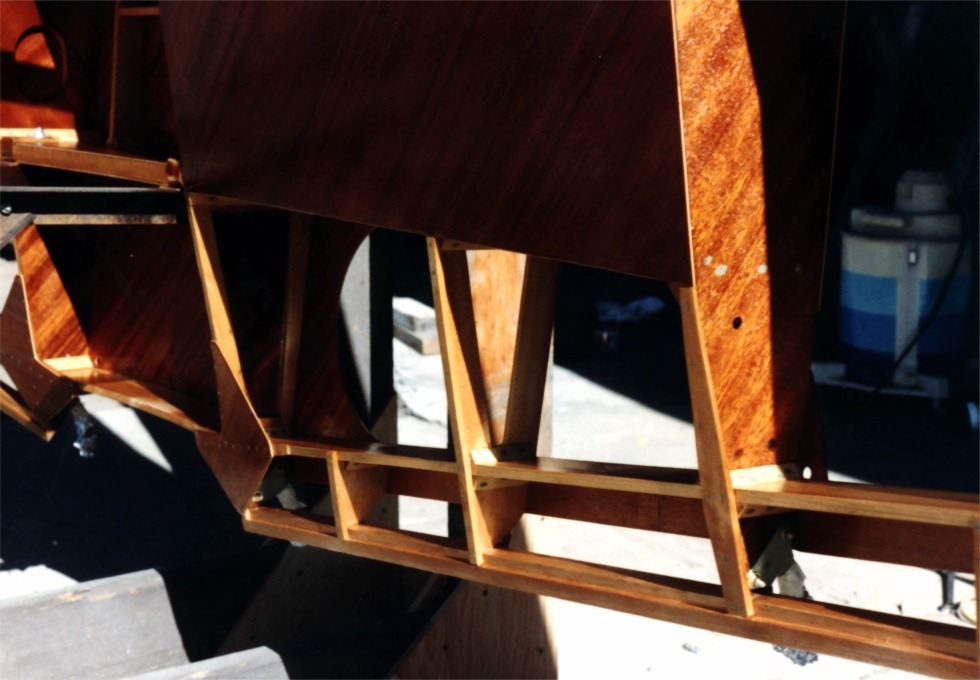
Here the old aux spar has been removed. The rear spar is already in. It was positioned and glued in before the aux spar and ribs were removed
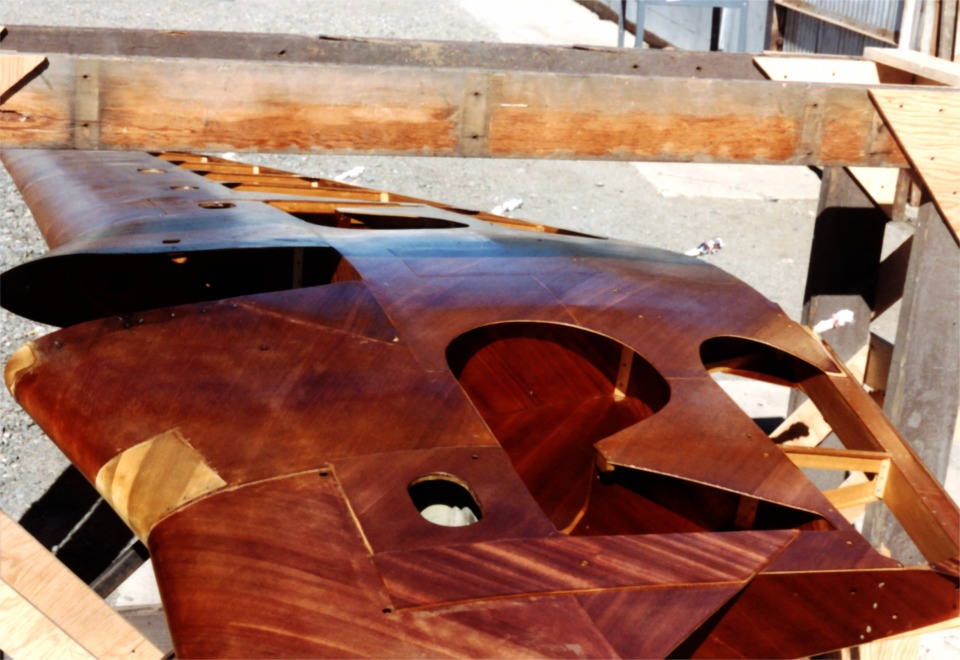
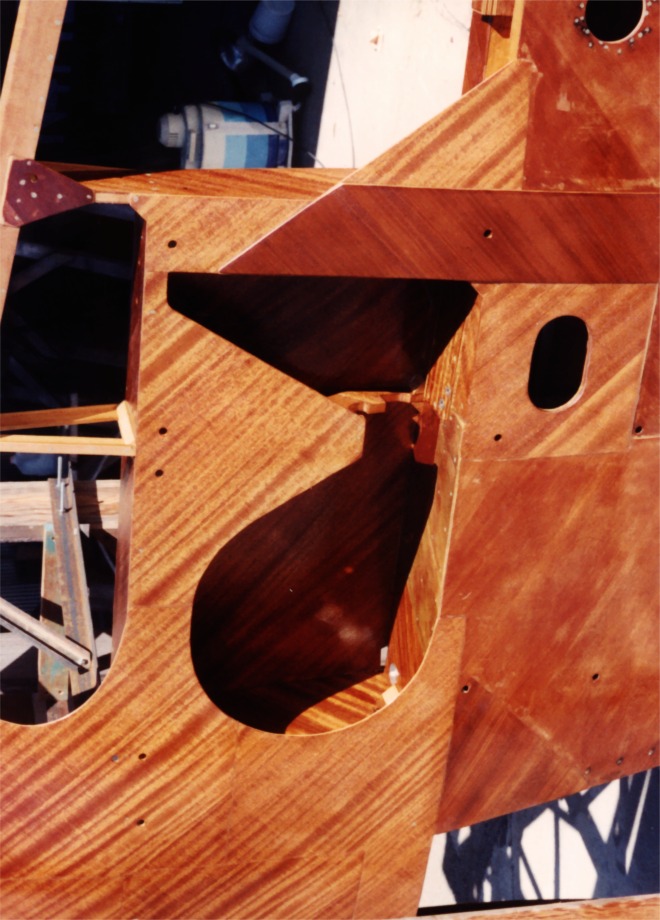
No my mite there was some cracked plywood skin in the wing walk area. It had been patch at least once before. I reinforced the wing by adding a "half rib" between the first and second nose rib. I also made a new first nose rib.

In order to get the aux spar positioned correctly, I mounted the wing on the fuselage as well as the new aux spar. Then the ribs connection the aux spar to the main were glued in.
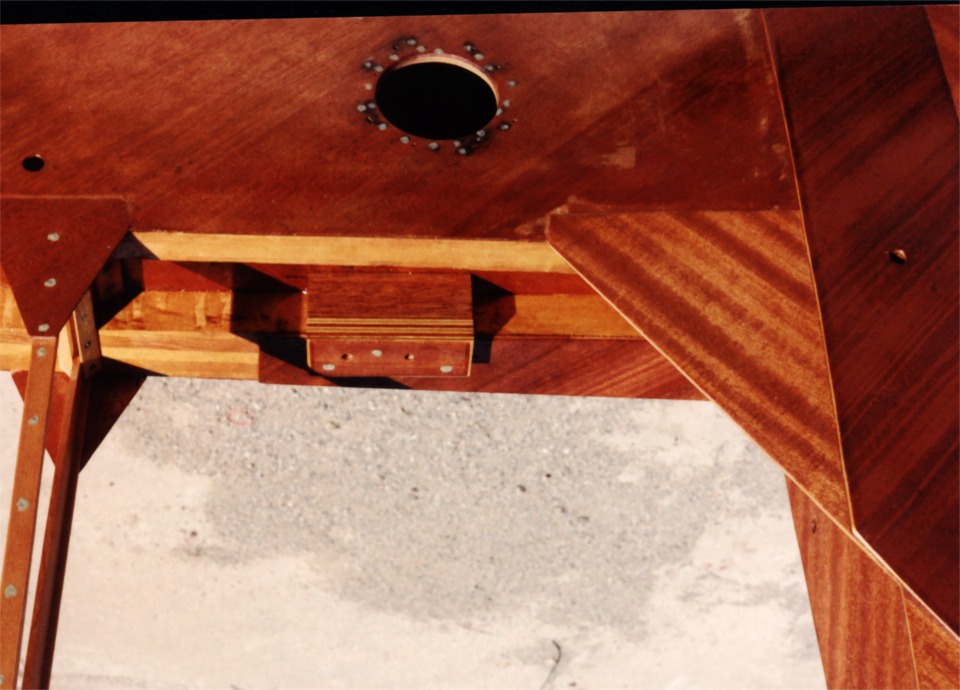
Here's the wing with the 1/8" plywood at the wing root being glued on.
Here the old rear spar has been removed and some of the new bell skin has been glued on. This photo was taken in 1988.
I made a stand for the wing which allows the wing to be rotated.
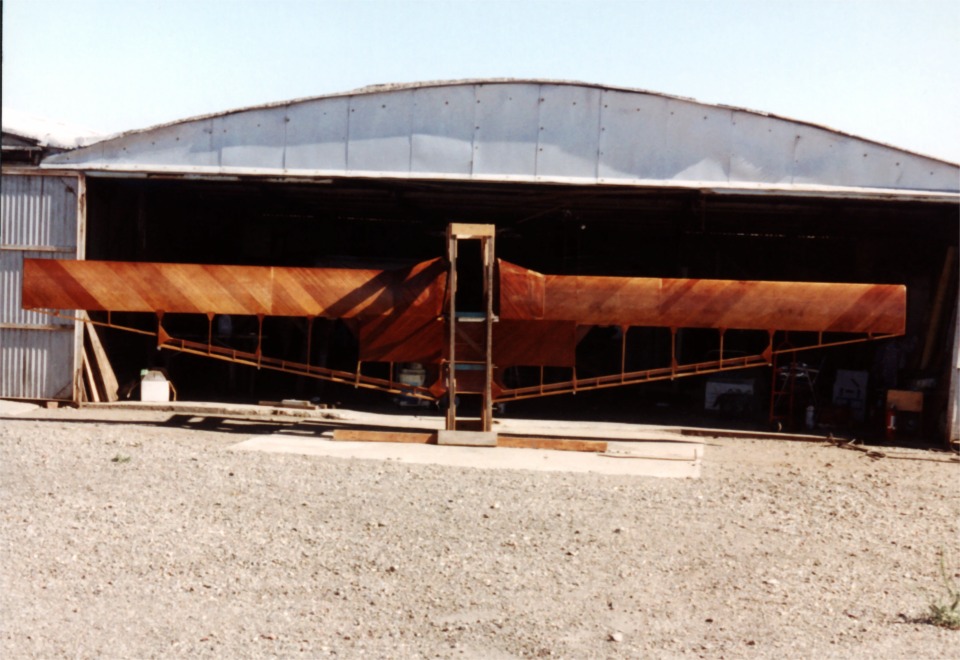
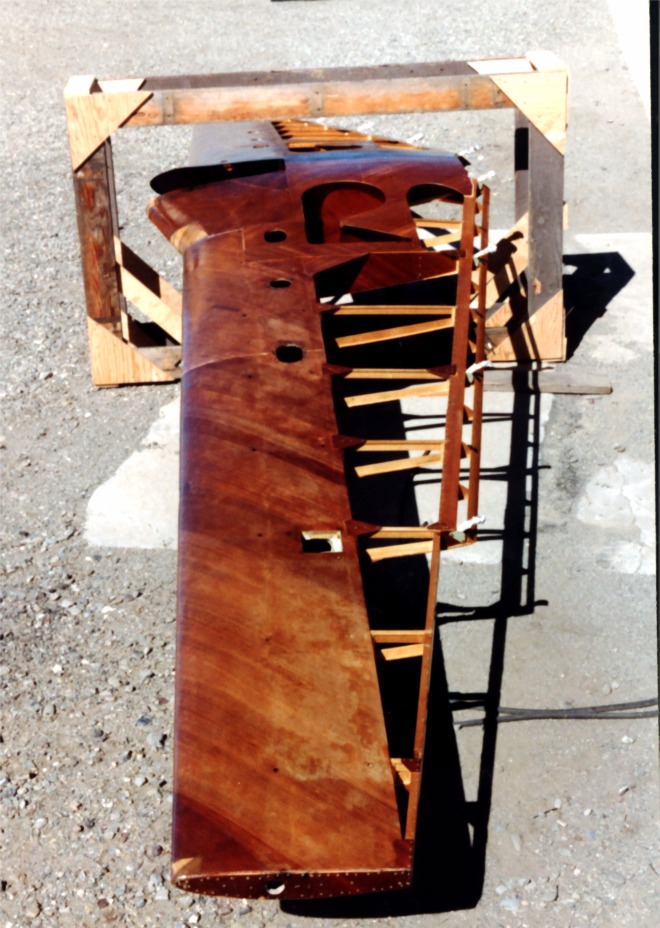
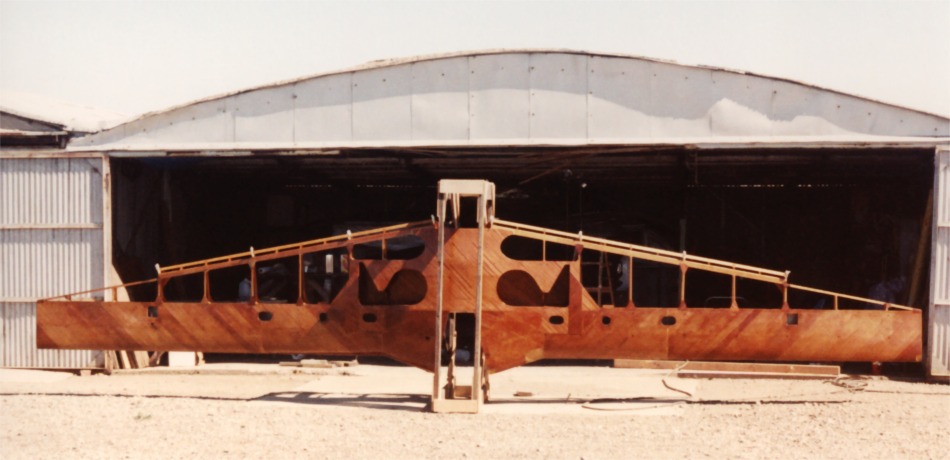
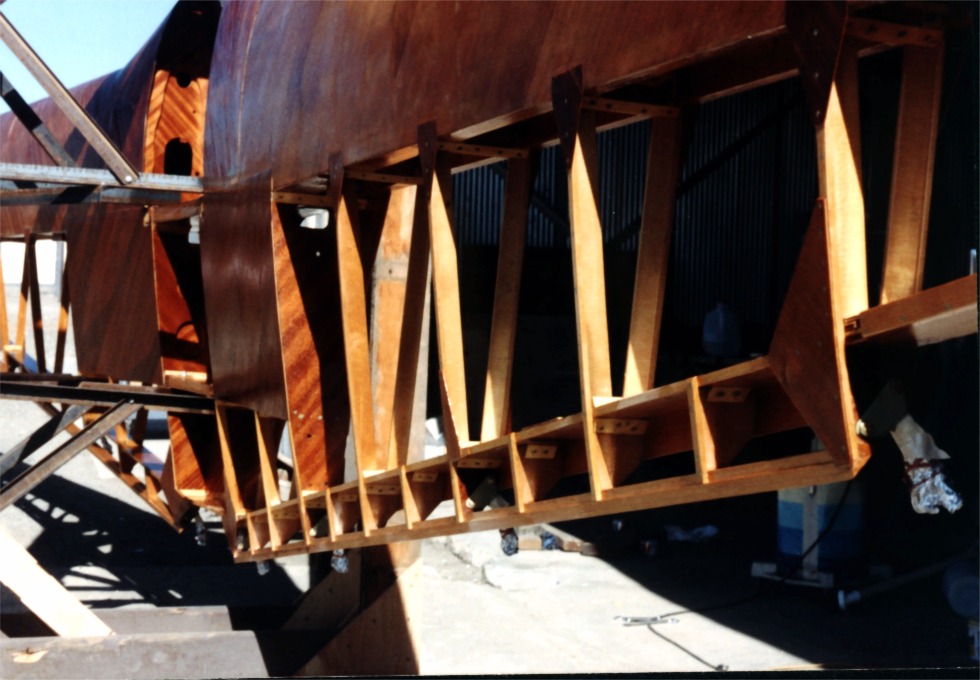
Here are several photos of the wing.
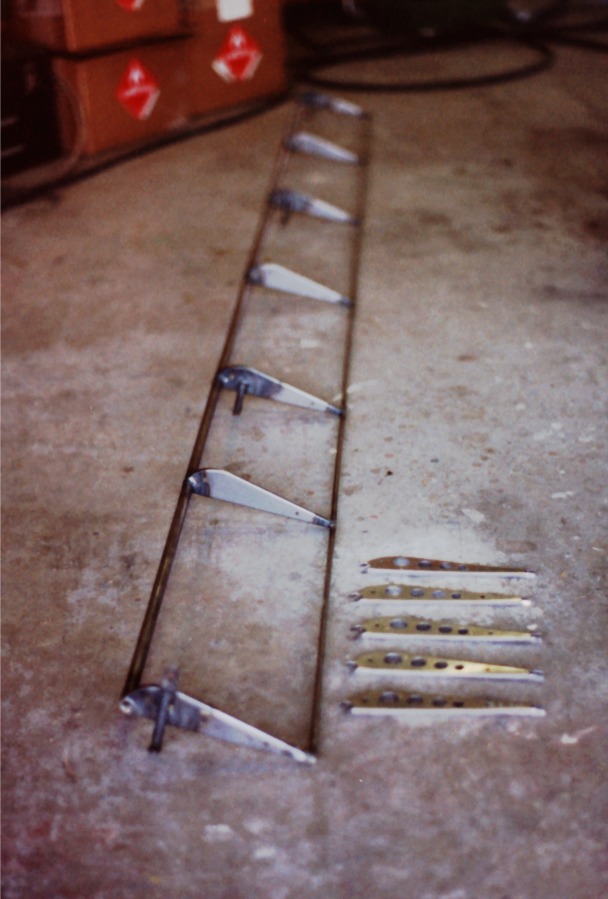
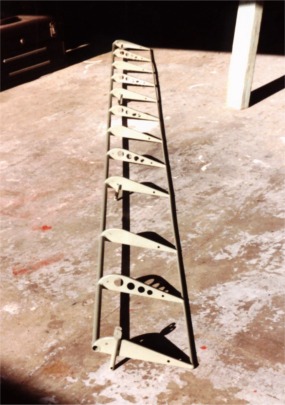
Some later models of the Mite had more ribs in the flap. I modified my flap by adding 5 more ribs.
Here is a photo of the aileron with the balsawood tip and another two photos showing the aileron fitted on the uncovered wing.
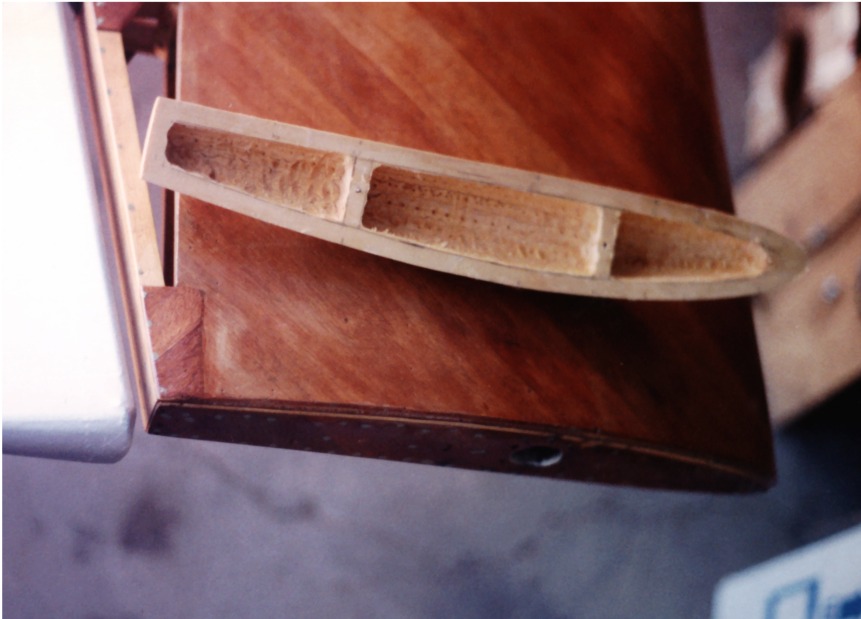
I made wing tip from bass wood. The insides was carved out to save some weight.
Here are two photos of the uncovered wing with the gears and control surfaces fitted. These photos were taken in 1990.

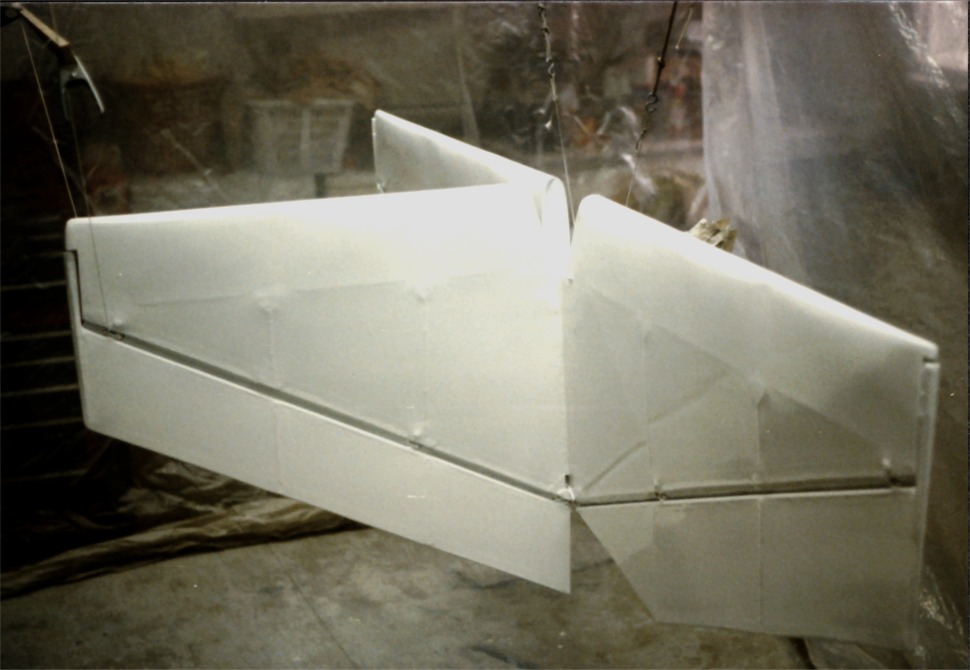
Here is a photo of the covered wing.
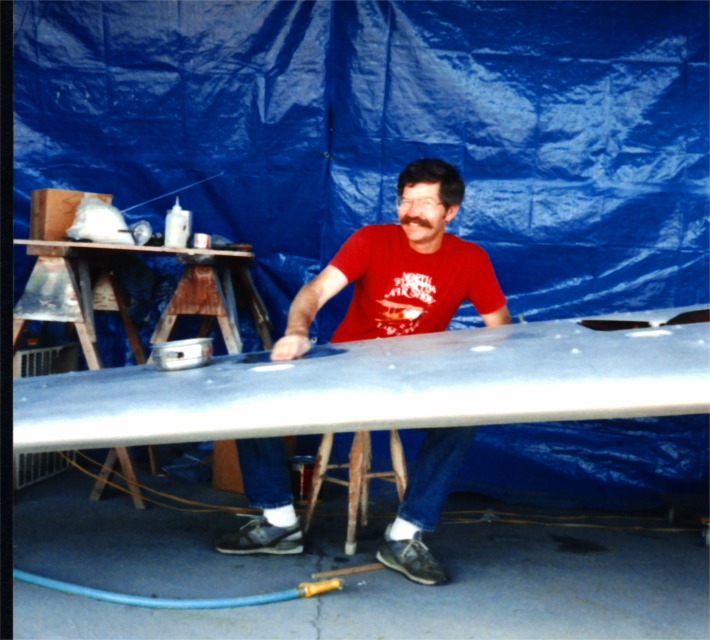
Here I am sanding the wing.
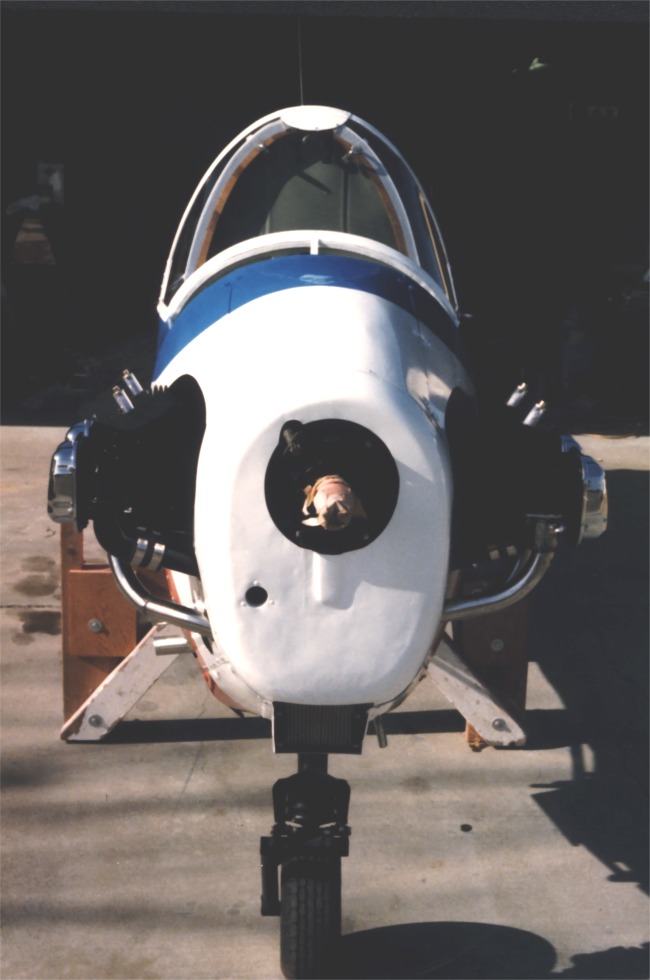
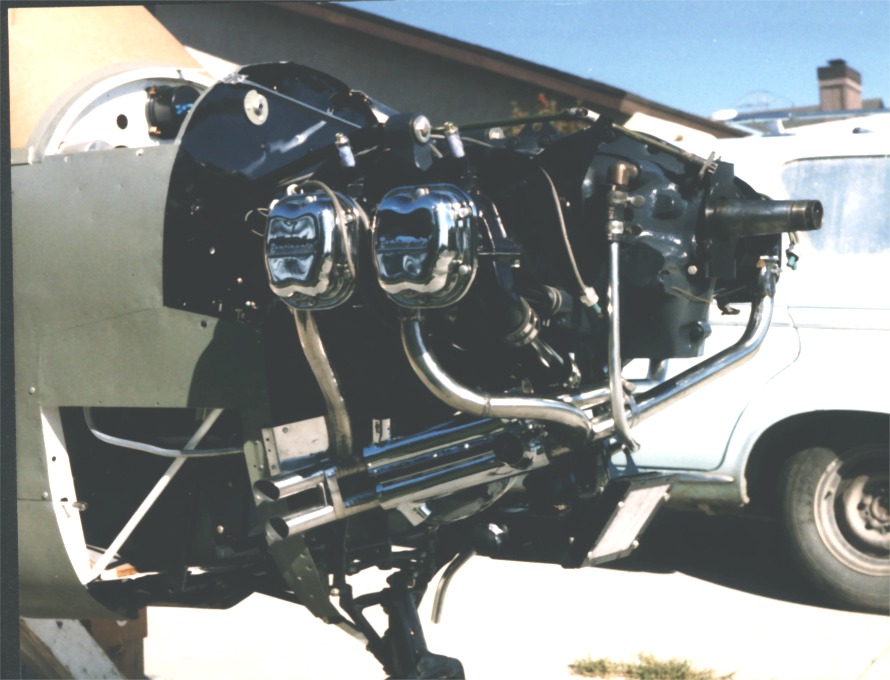
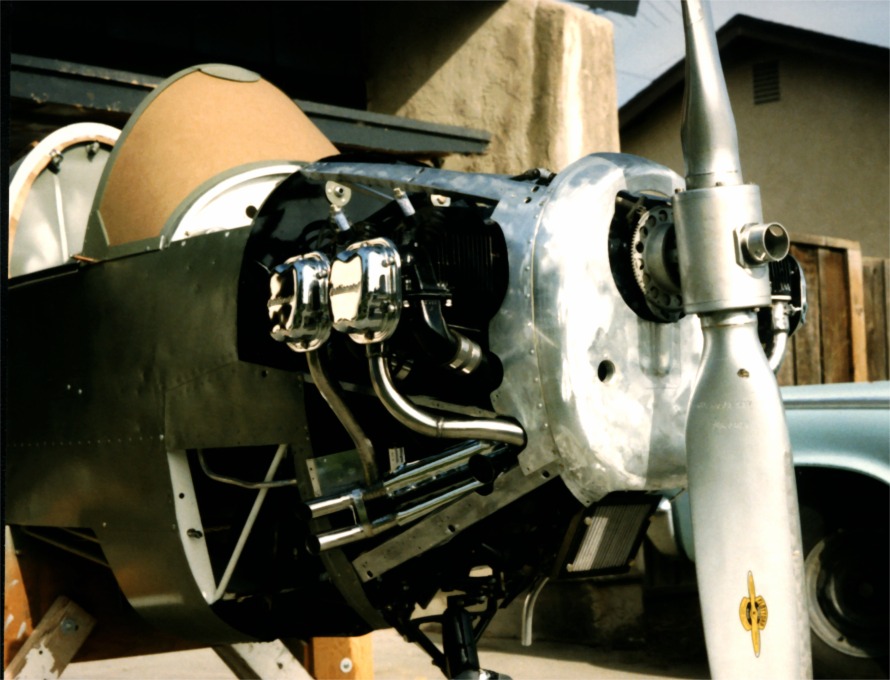
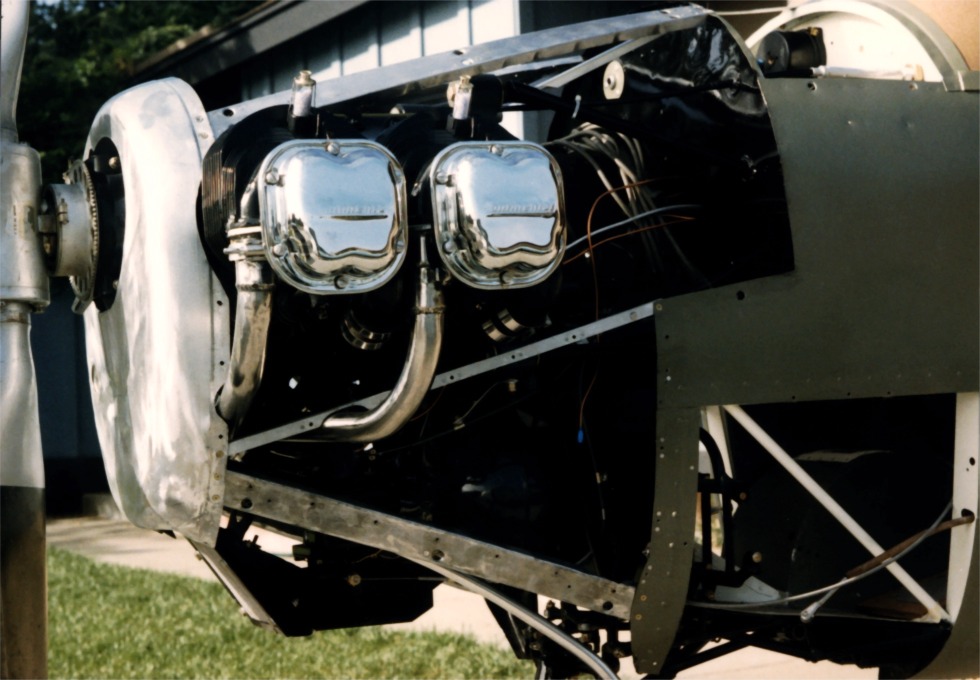
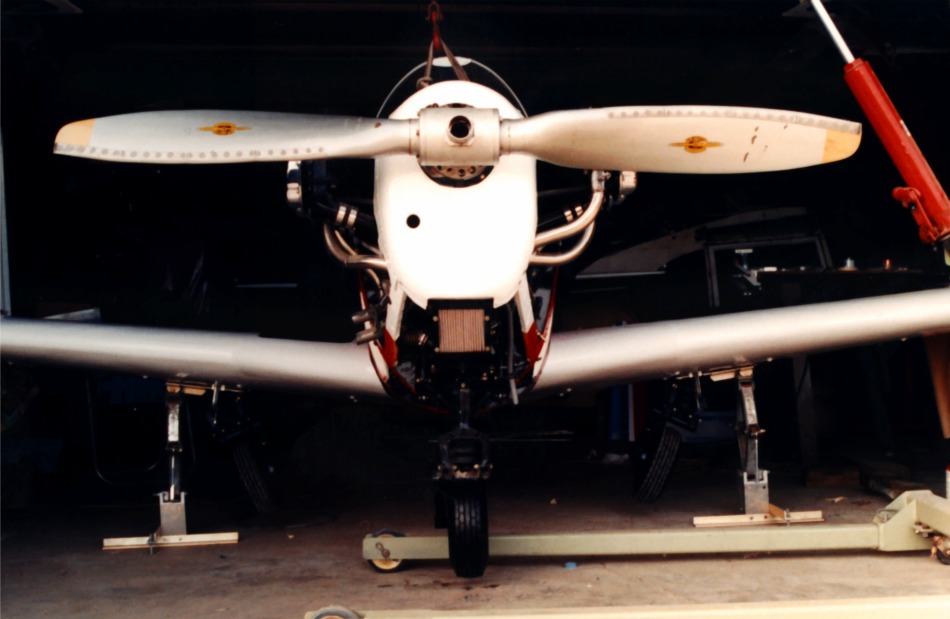
At the time of restoration the only repair done to the engine was the overhaul of the back two cylinders, and applied some new paint. I am no supprised that the back two cylinders would need overhaul first, since they can't get as much air flow for cooling as the front ones. The Continental powered mites do not have the eyebrows as in a Piper J-3. The Lycoming powers Mites have eyebrows. These photos were taken in 1986.

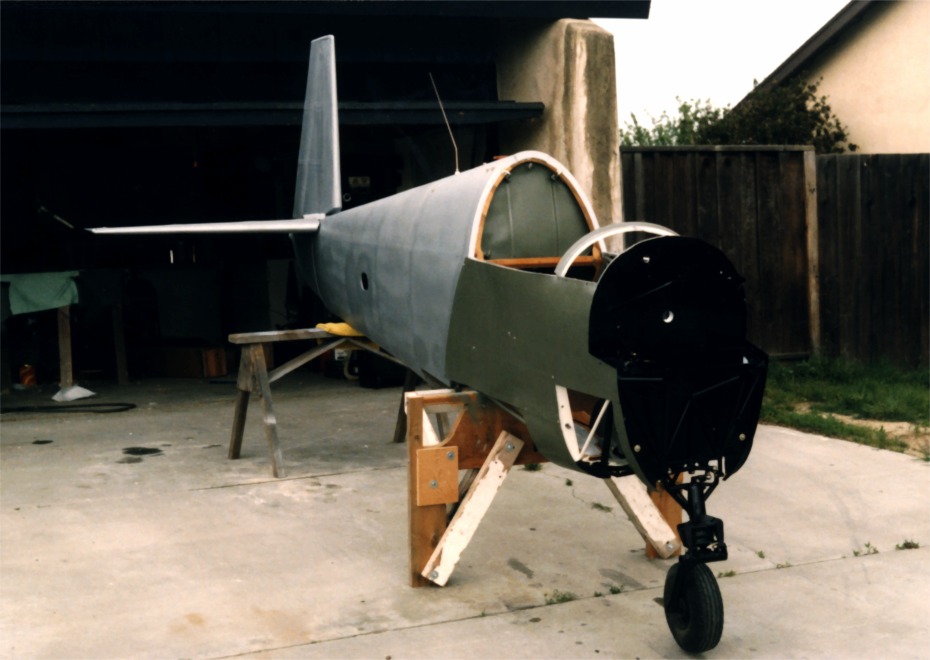
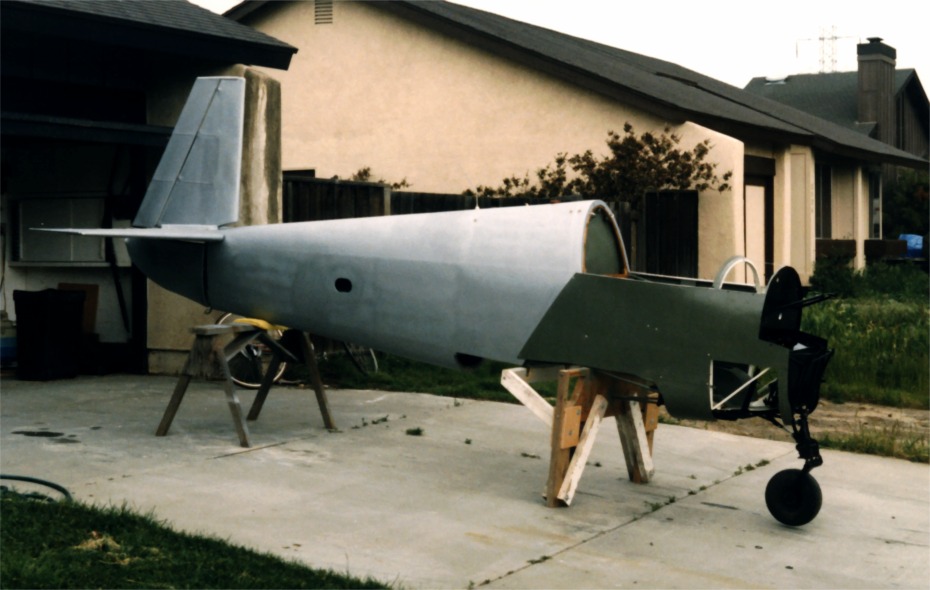
The cockpit section was strip and painted.
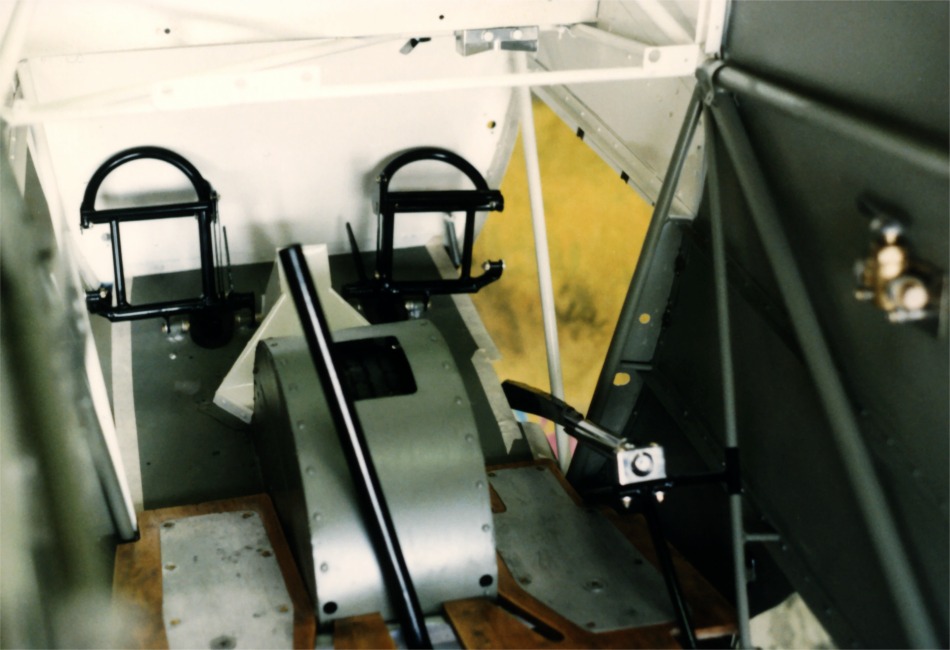
The inside of the firewall was painted white. I find that white is a good color for difficult to get to places. It reflects more light around. In these photos you an see the odd rudder-break peddle used in the Mite. To use the rudder peddle you put you small size toes in the D. To get breaks you pull your toes out of the Ds and put them on the top of the Ds. Also in these photos you can see the main fuel value, and the gear retraction handle. In the first photo the handle is locked in the gears-up position.
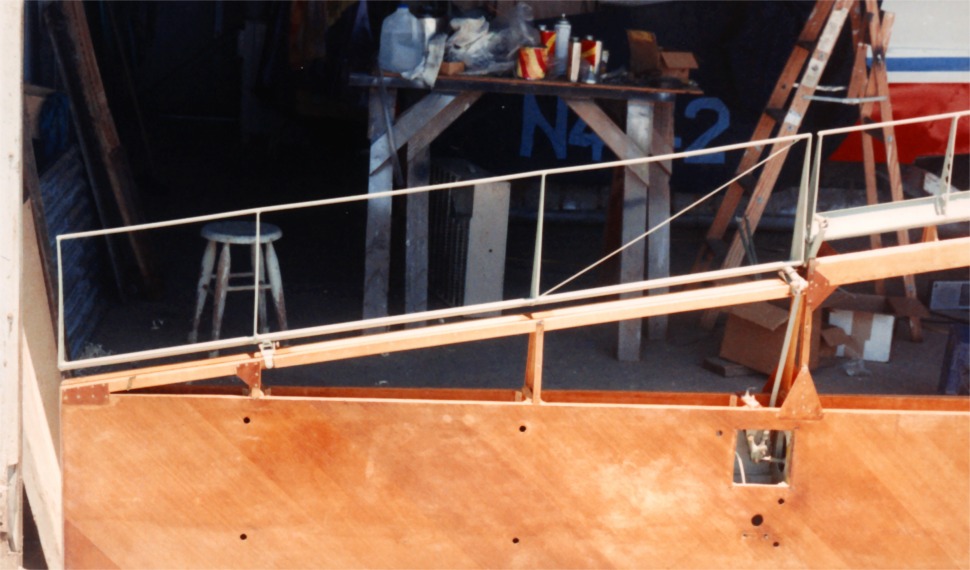
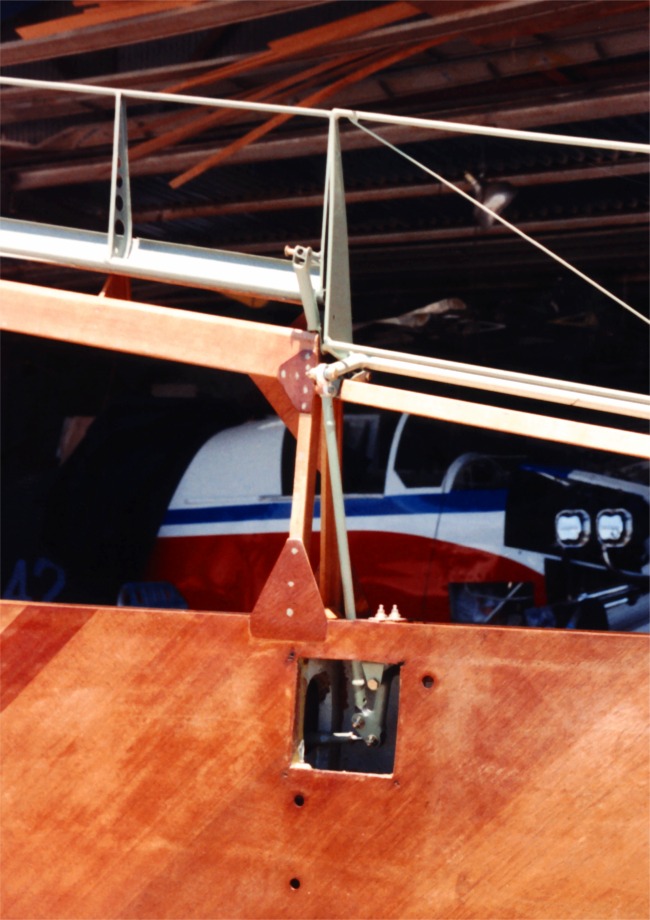
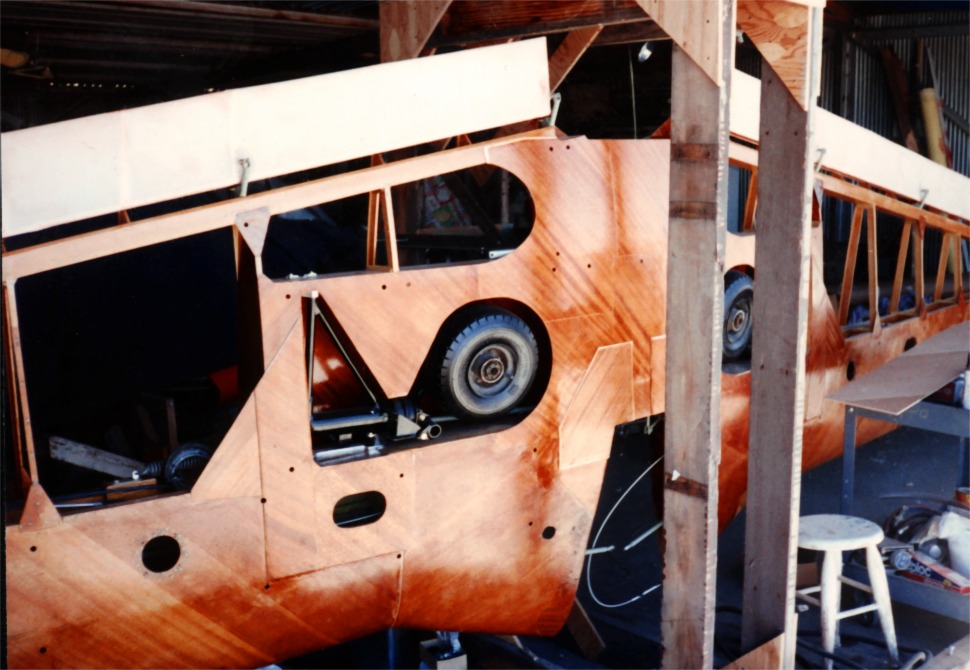
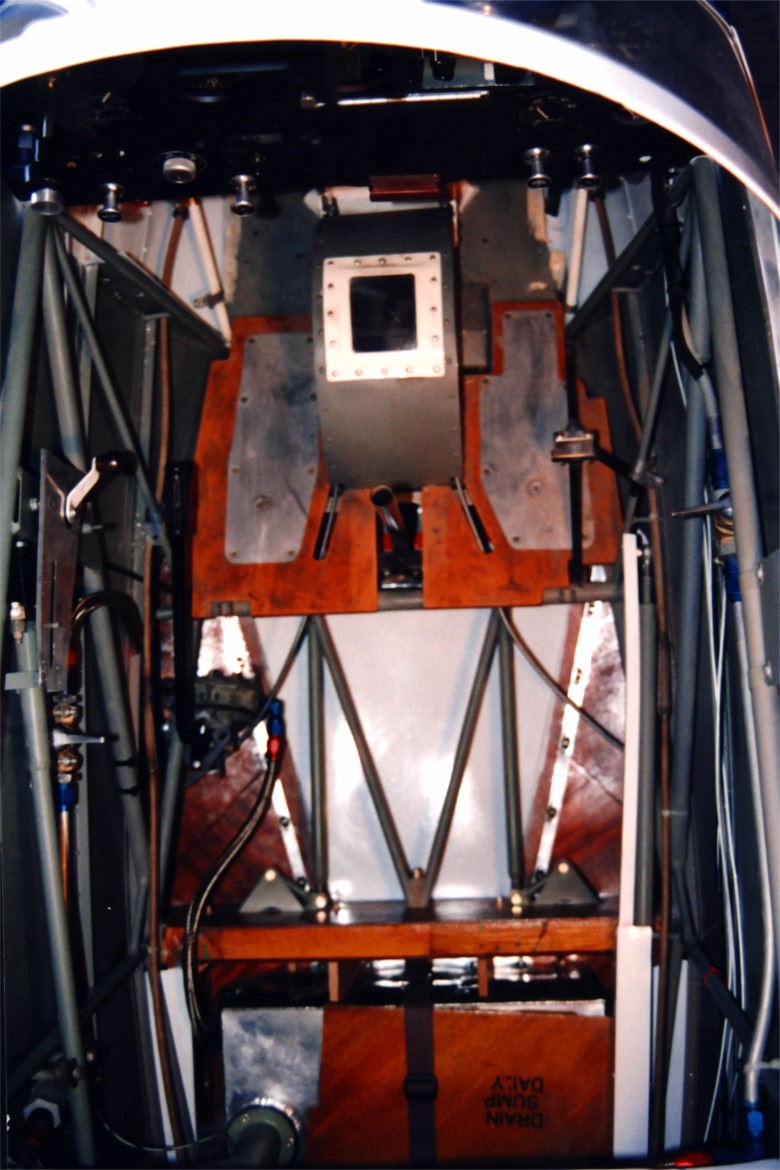
The following photos were taken after the fuselage had been attached to the wings, and the aux fuel tank has been installed. Also in this photo you can see the hand fuel pump used to pump the fuel from the aux tank into the main tank. This pump is simply a large automobile fuel pump with a handle welded onto it. It take several hundred strokes of this pump to transfer the six gallons of fuel from the aux tank to the main. But what else is there to do on a long cross country?

In the following photos the upholstery and side panel have been completed .On the right side there is the aux fuel tank valve and the trim-flap control. On the aircraft the flaps are connected to the trim control. The flaps come down at the full nose-up trim setting. I added some pockets in the side panels, two small ones at the upper forward corner on both sides and a larger one on the right side. I made the inside panels in two pieces. The forward piece is bare spot polished aluminum.
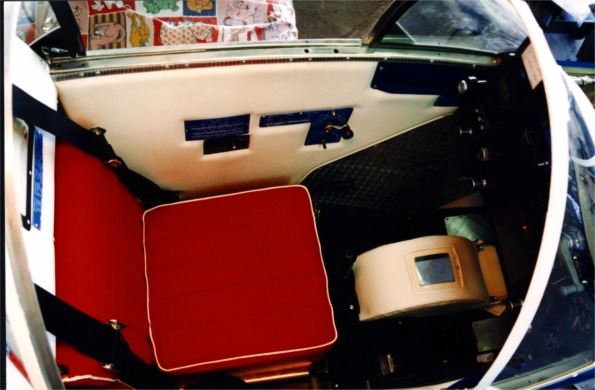
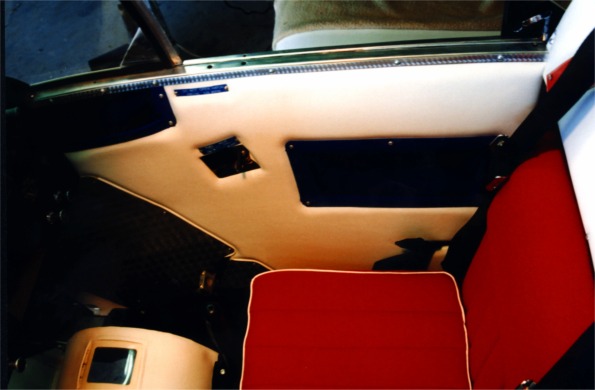
The following photos show the completed instrument panel. The crank on the upper right is the porp pitch control. The gear-up warning flag is at the upper left. This warning system uses a pneumatic windshield wiper motor from some old automobile. The panel labels were made using rub-on-letters covered with a sheet of clear milar.


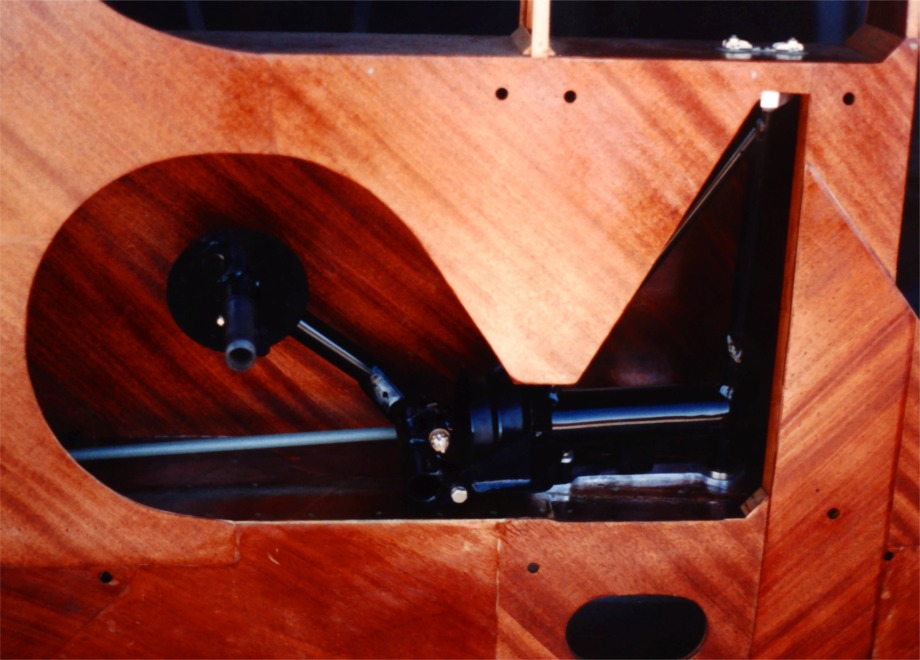
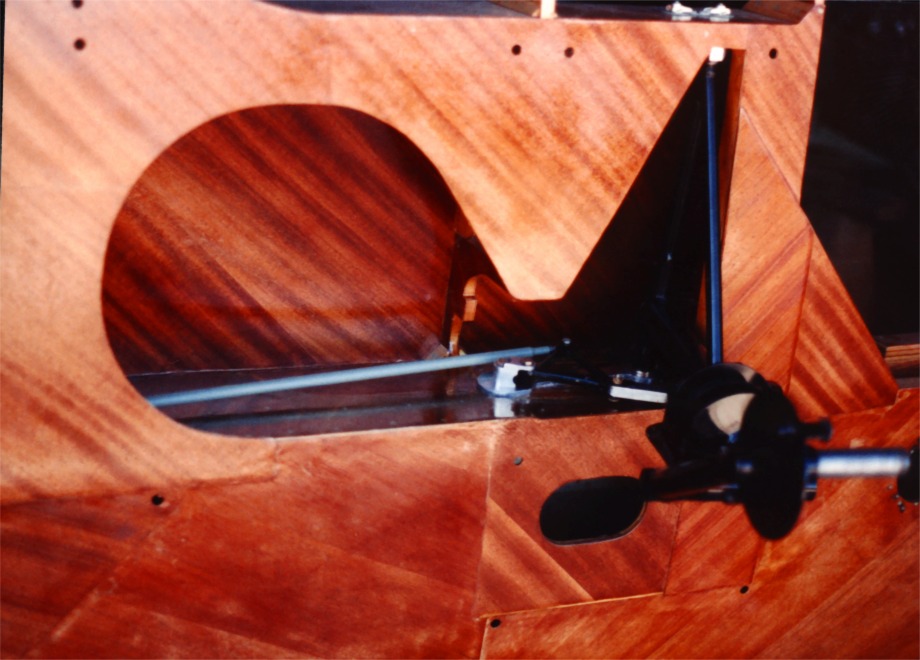
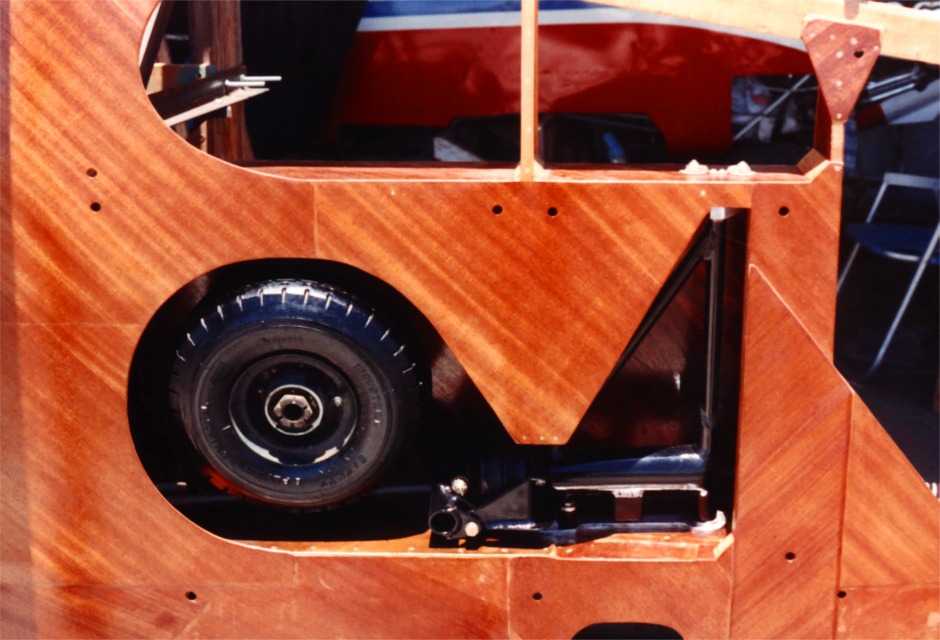
The landing gears were striped, sand blasted and painted.
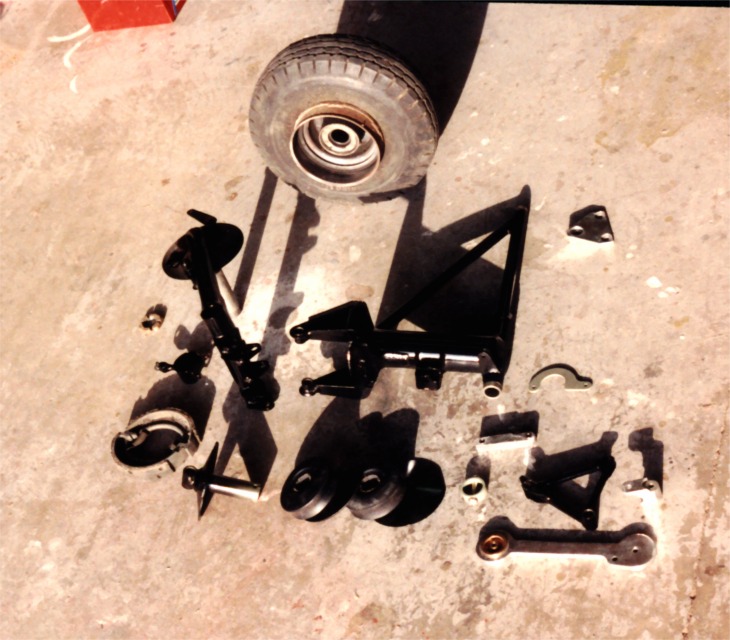
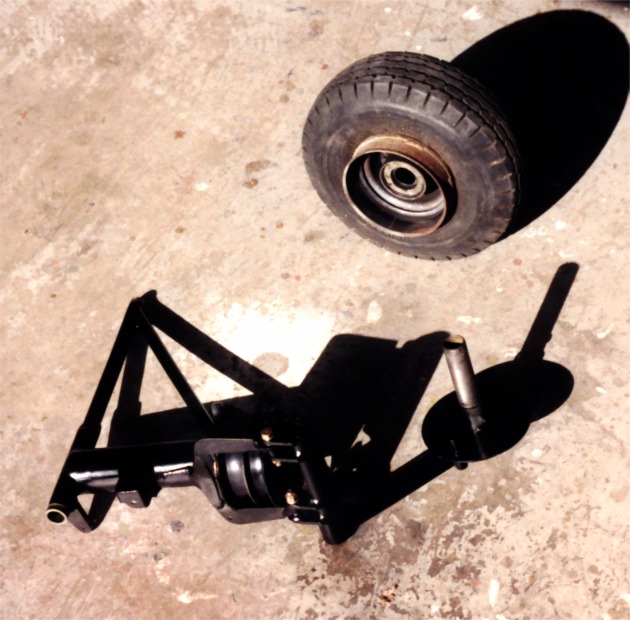
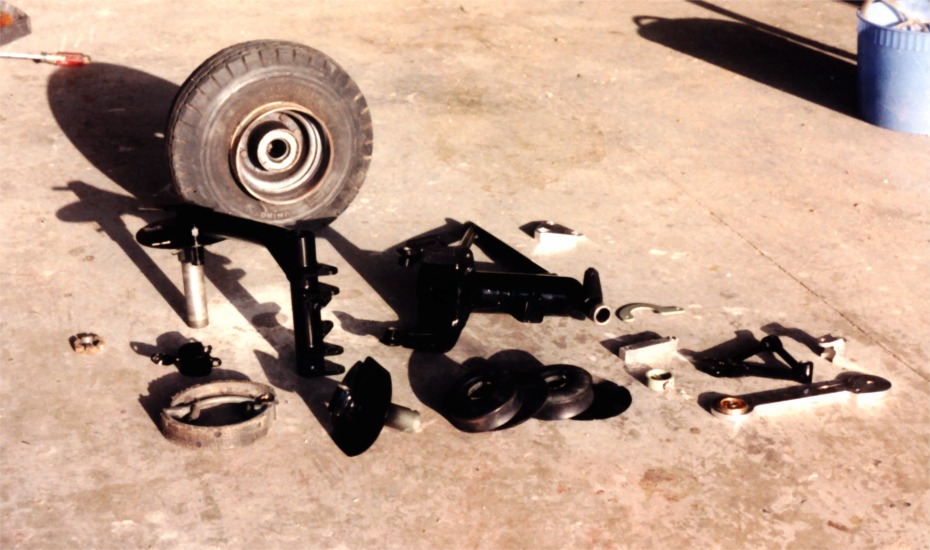
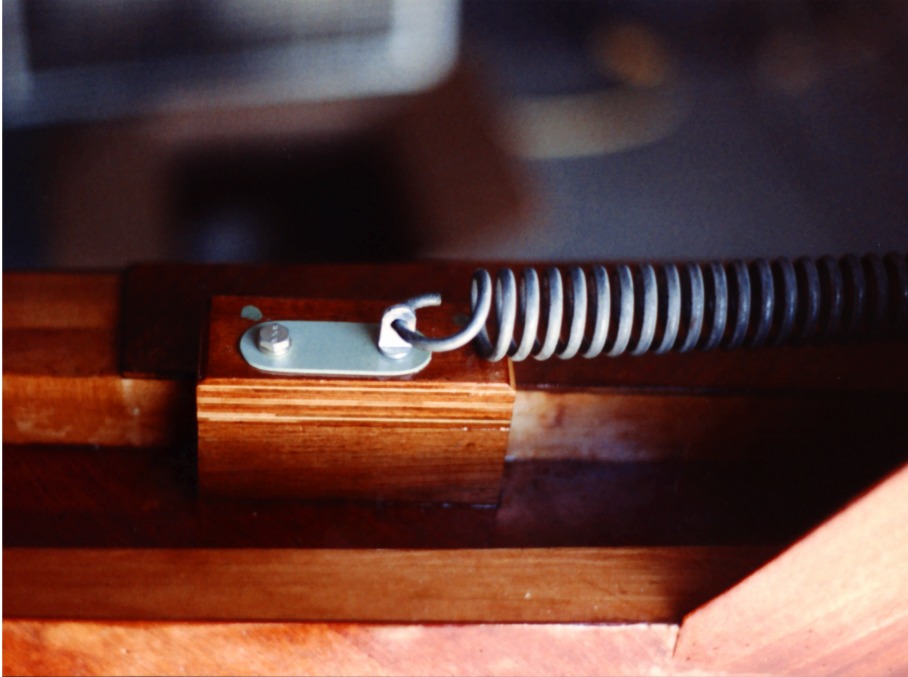
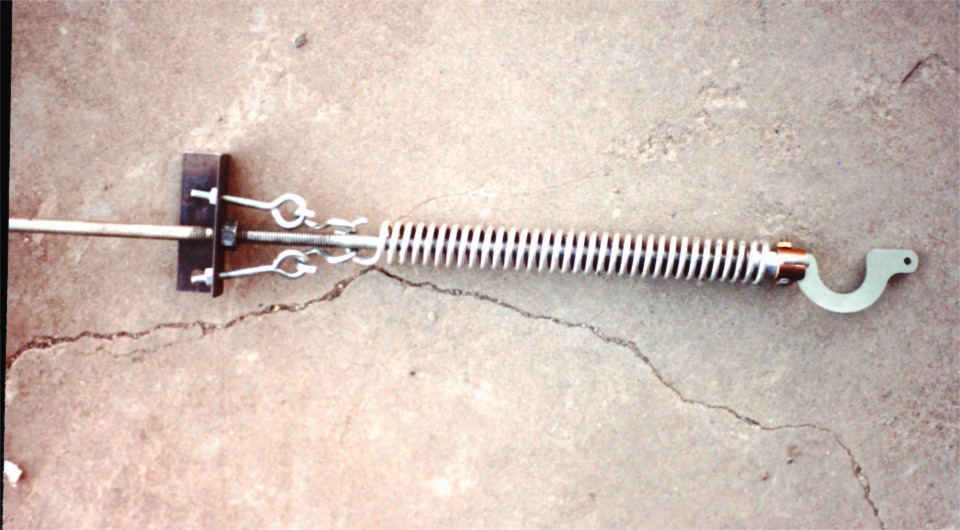
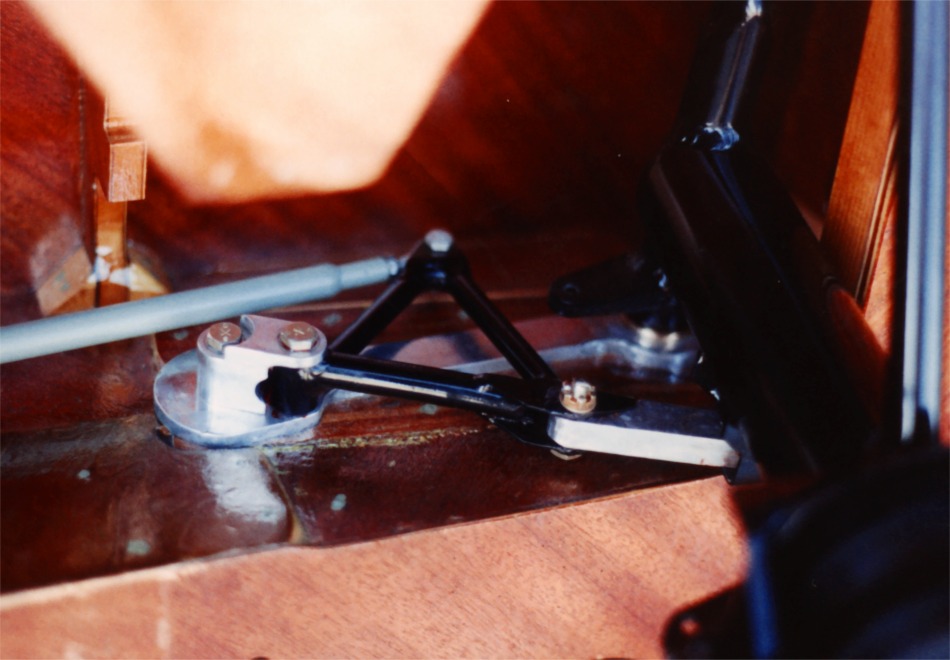
When I disassemble my Mite I noticed that the gear string attachment block was almost broken off, only the eye bolt was holding it on. I reinforced this attachment by adding another bolt with a short strap between the new bolt and the eyebolt. Here is also a photo of the tool I made to stretch the gear spring.
Here are some photos of the main landing gear.
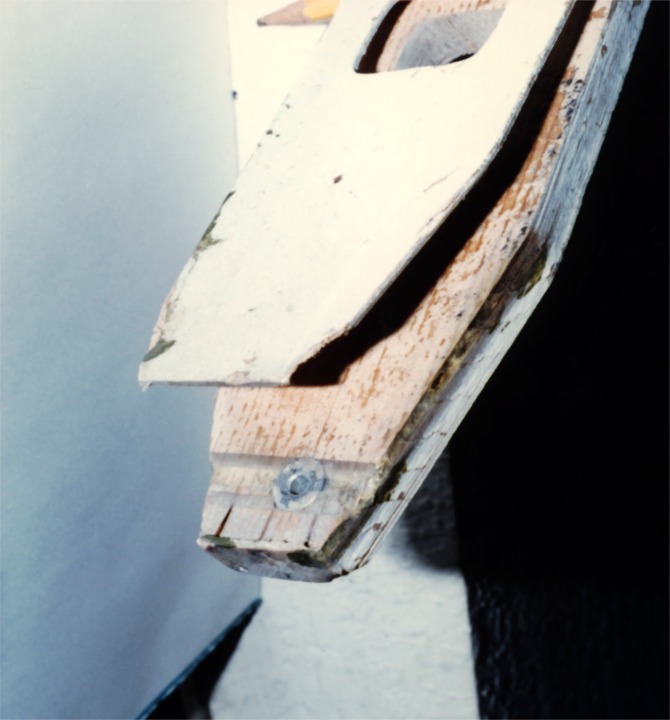
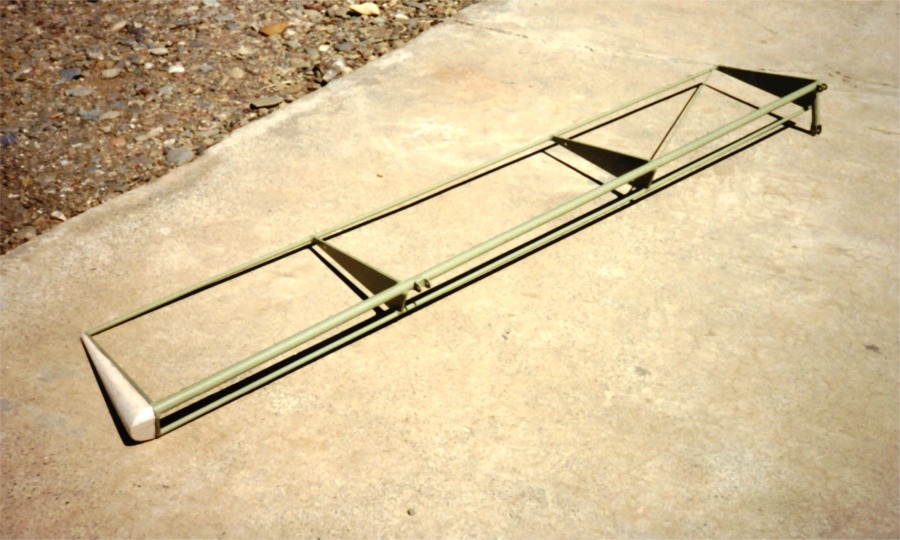
The front spars and the leading edge on the Mite's tail was in good condition. I replaced all the ribs and the trailing edge. One thing that I notices after I covered one of the elevators was that the tension of the fabric made the elevator warp in such a way that the three hinges did not line up. I think that if the elevator is forced to fit the stabilizer, the trailing edge of the stabilizer would be subject to a distortion every time the elevator moves. This my be the reason the hinge mounts on my stabilizer were in such poor shape. The next time you inspect your Mite, see if the trailing edge of the stabilizer moves up and down at the middle hinge when the elevator is moved. I fixed this problem by welding in a 1/16" welding rod as a diagonal brace in the inner bay of the elevator. The rudder already has such a brace.
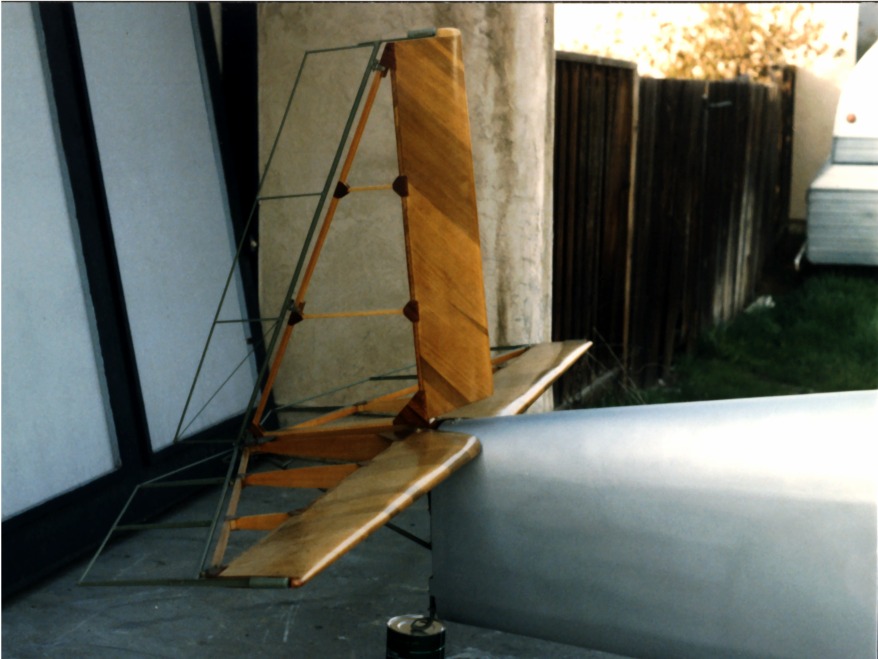
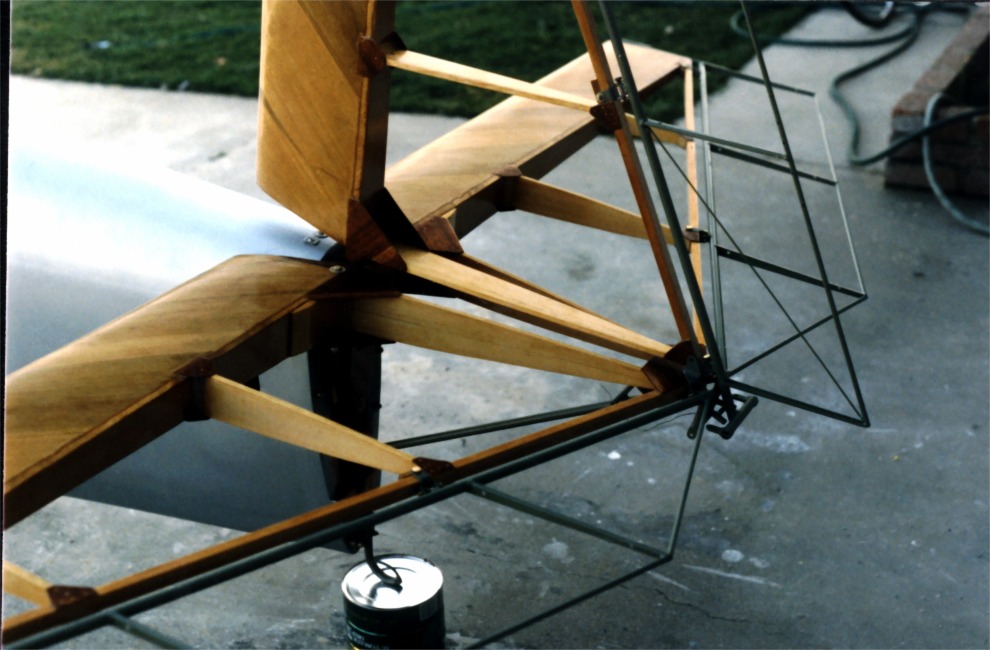
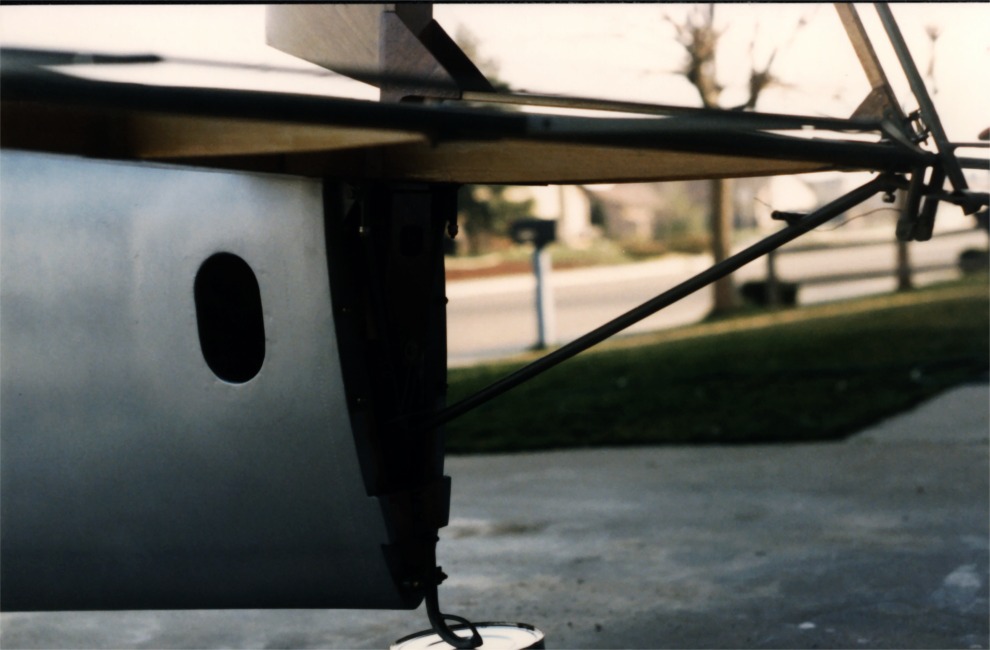
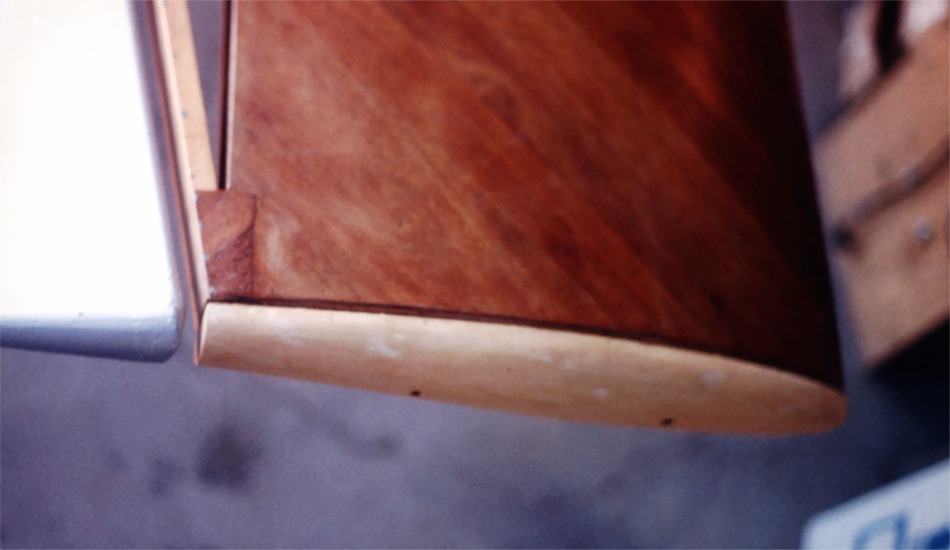
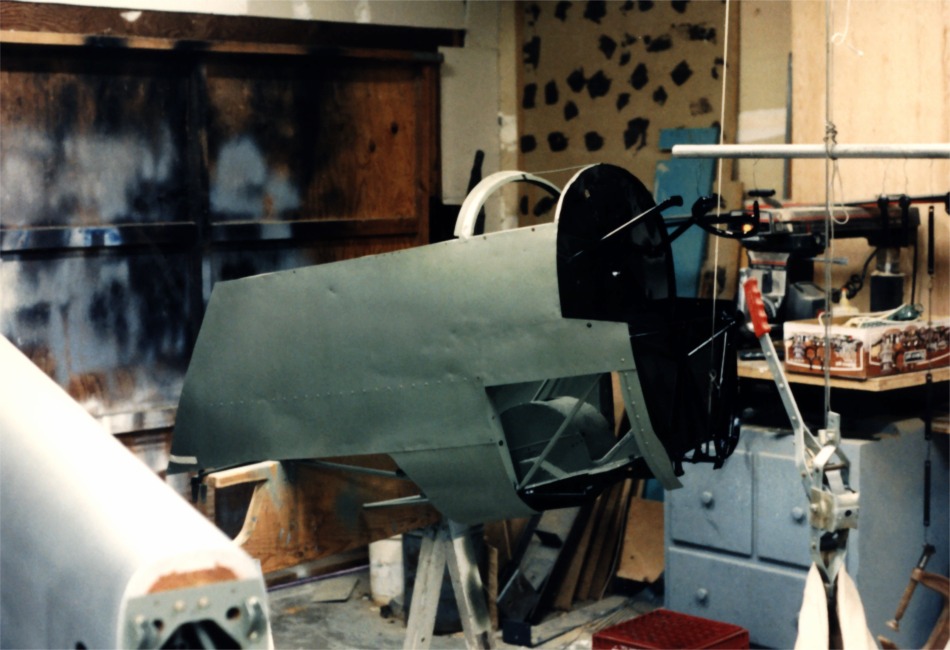
Here is the tail hanging just after I painted it. I used fabric tape to seal the gap between the stabilizer and rudder.
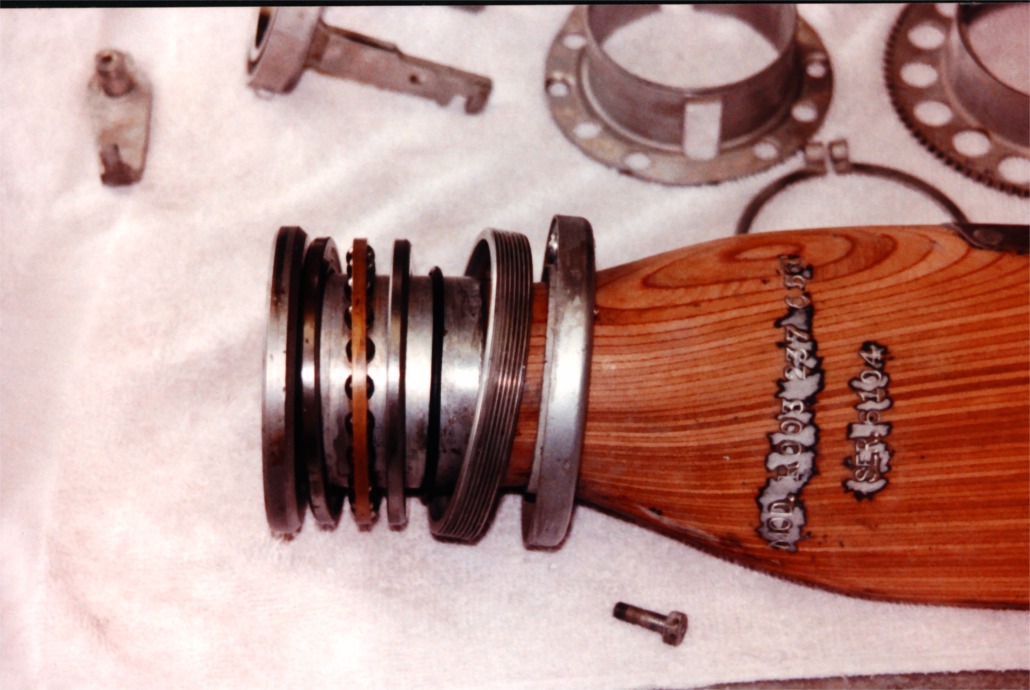
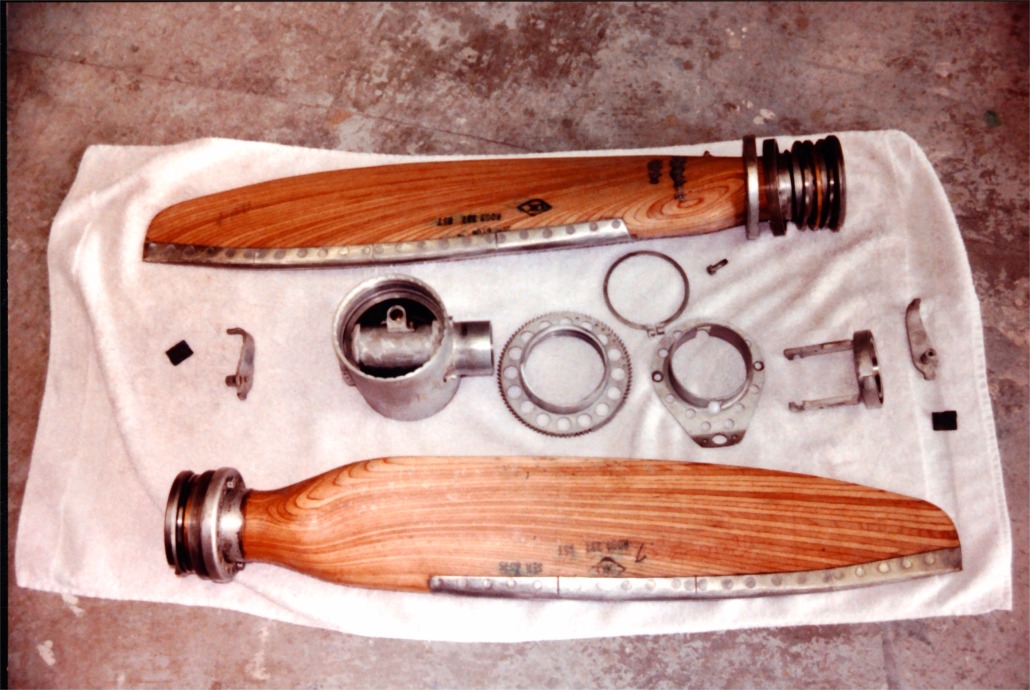
The Beech-Roby controllable pitch propeller was an option on new Mites. My Mite had one of these props on it when I bought it in 1972. When I started the restoration, I wanted to find a better one, as the one on my Mite had a number of dents in its leading edge. I obtained a low time one from Fred Schmidt. It had only about 5 hr on it. I dissembled it for inspection and greasing.
My brother-in-law, Sterling Oliver, helped with major assembly.
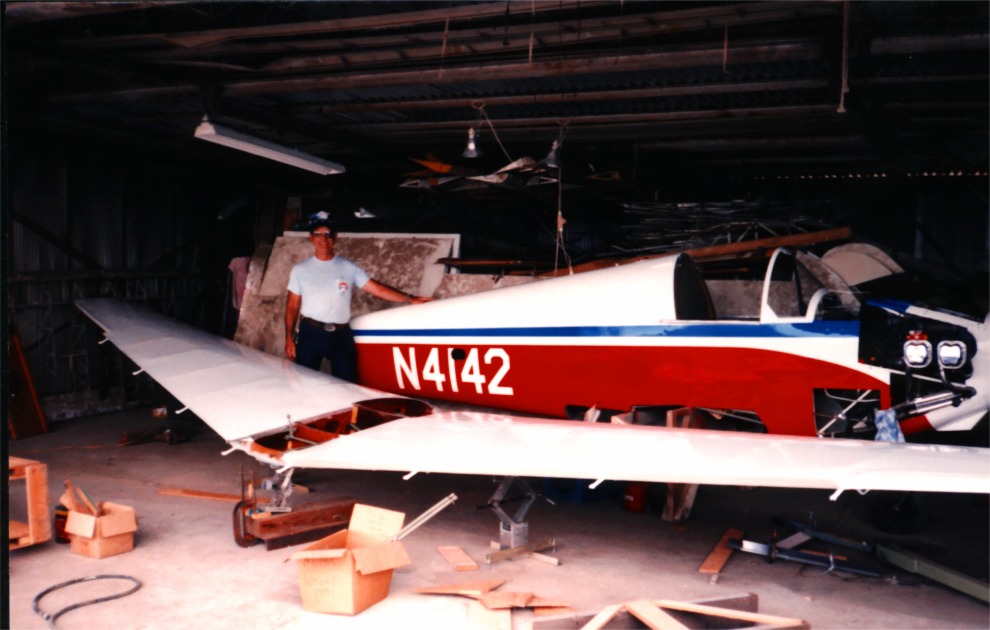
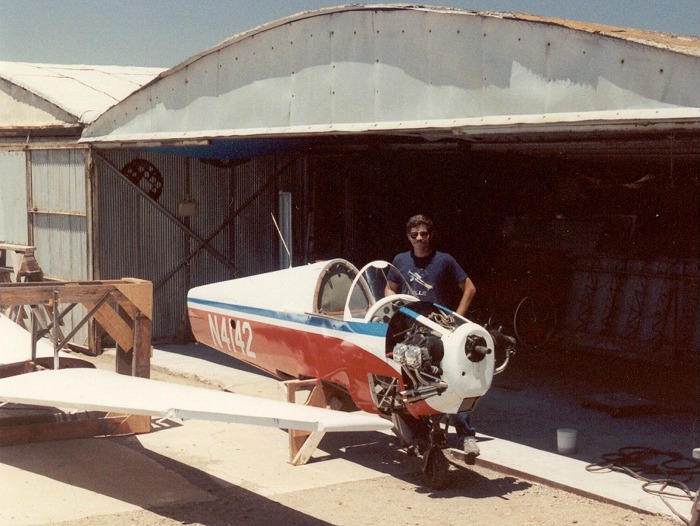
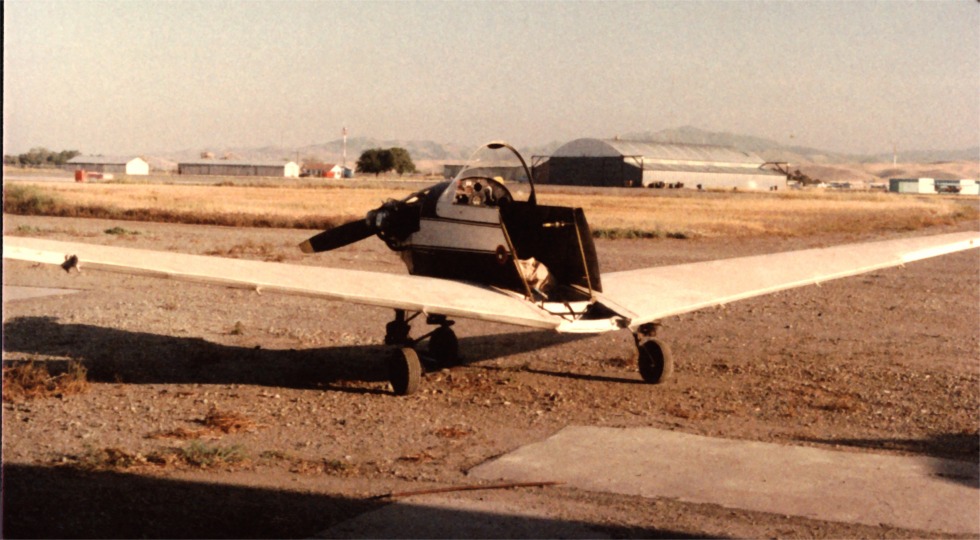
Then one day in September of 1991, the Mite rolled out of the hanger on its own tiny wheels, oh how cute!
Here's two photos of a gear retraction test. The nose is supported at the engine with a cherry-picker. I modified two small car jacks to lift the wing at the spar just outboard of the main gears.
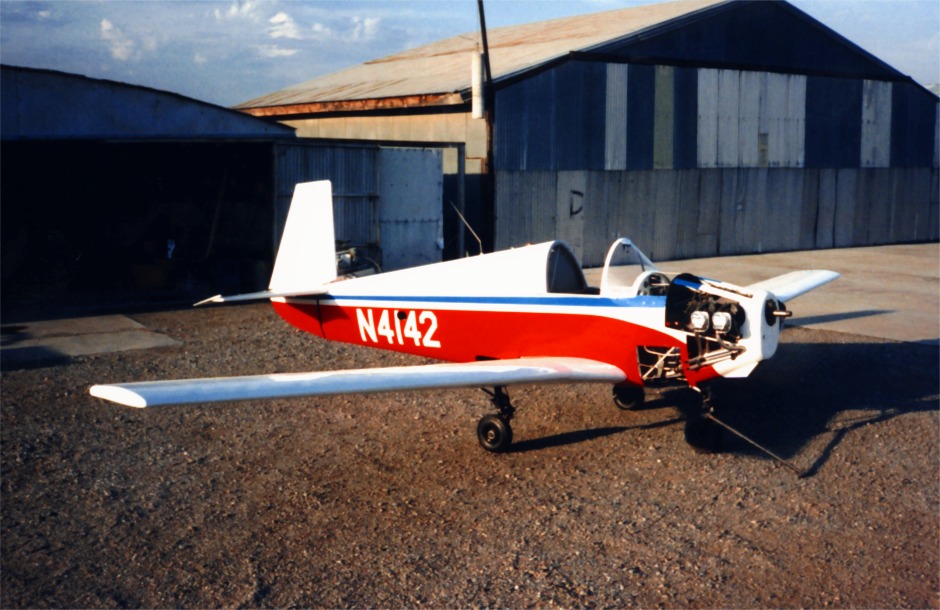
In the Air Again, April 17, 1994

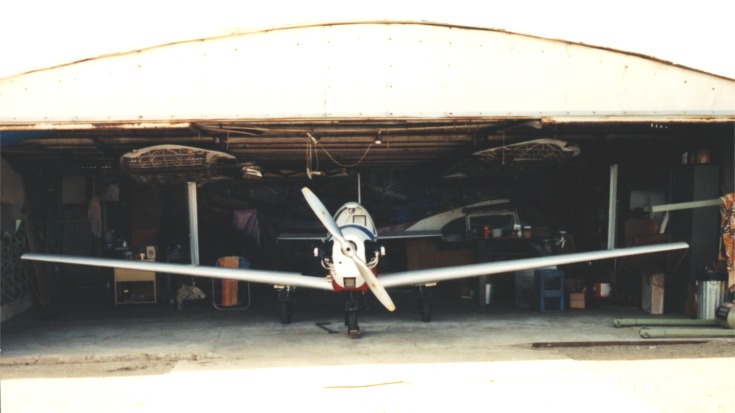
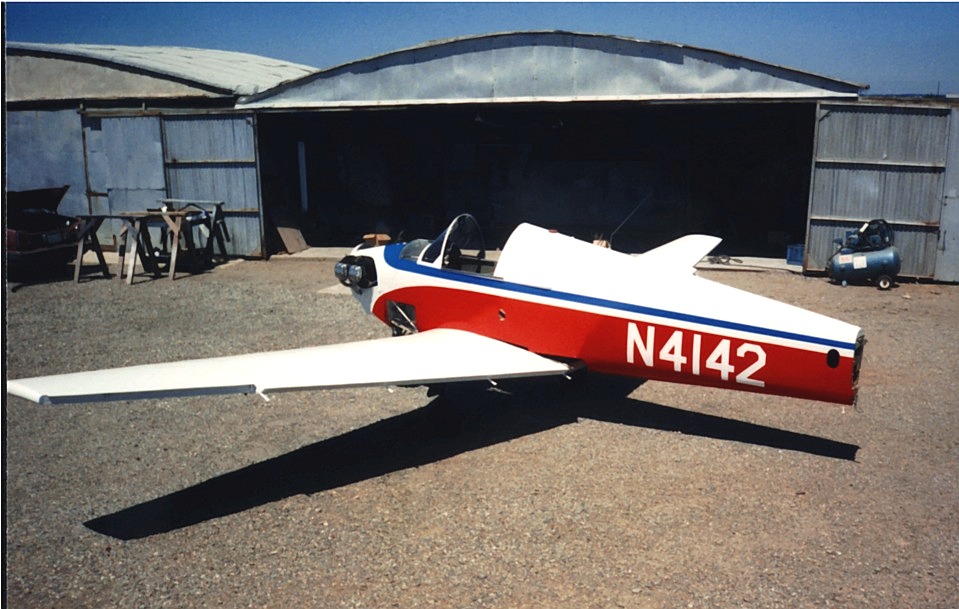
In the small hanger at Tracy, Next project, 1946 Piper PA-12, lurking in the background.